|
Aim of this article |
This section explains how to assign permissions to users/groups even for multiple accounts from the Administration section. |
|---|---|
|
Related sections |
|
|
Required permissions |
Global permissions:
|
Steps
-
Go to Administration> User Rights > Users.
-
In the Users table, select a user or user group, then click the three dots (
⋯) and from the dropdown, choose either:-
Global Permissions – to assign traditional global roles and permissions. See the Assigning Global Permissions section below.
-
Permission Management – to grant fine-grained access to individual objects under specific assets (partitions, integrations, workflows, schedulers,…). See the Assigning Assets section below.
-
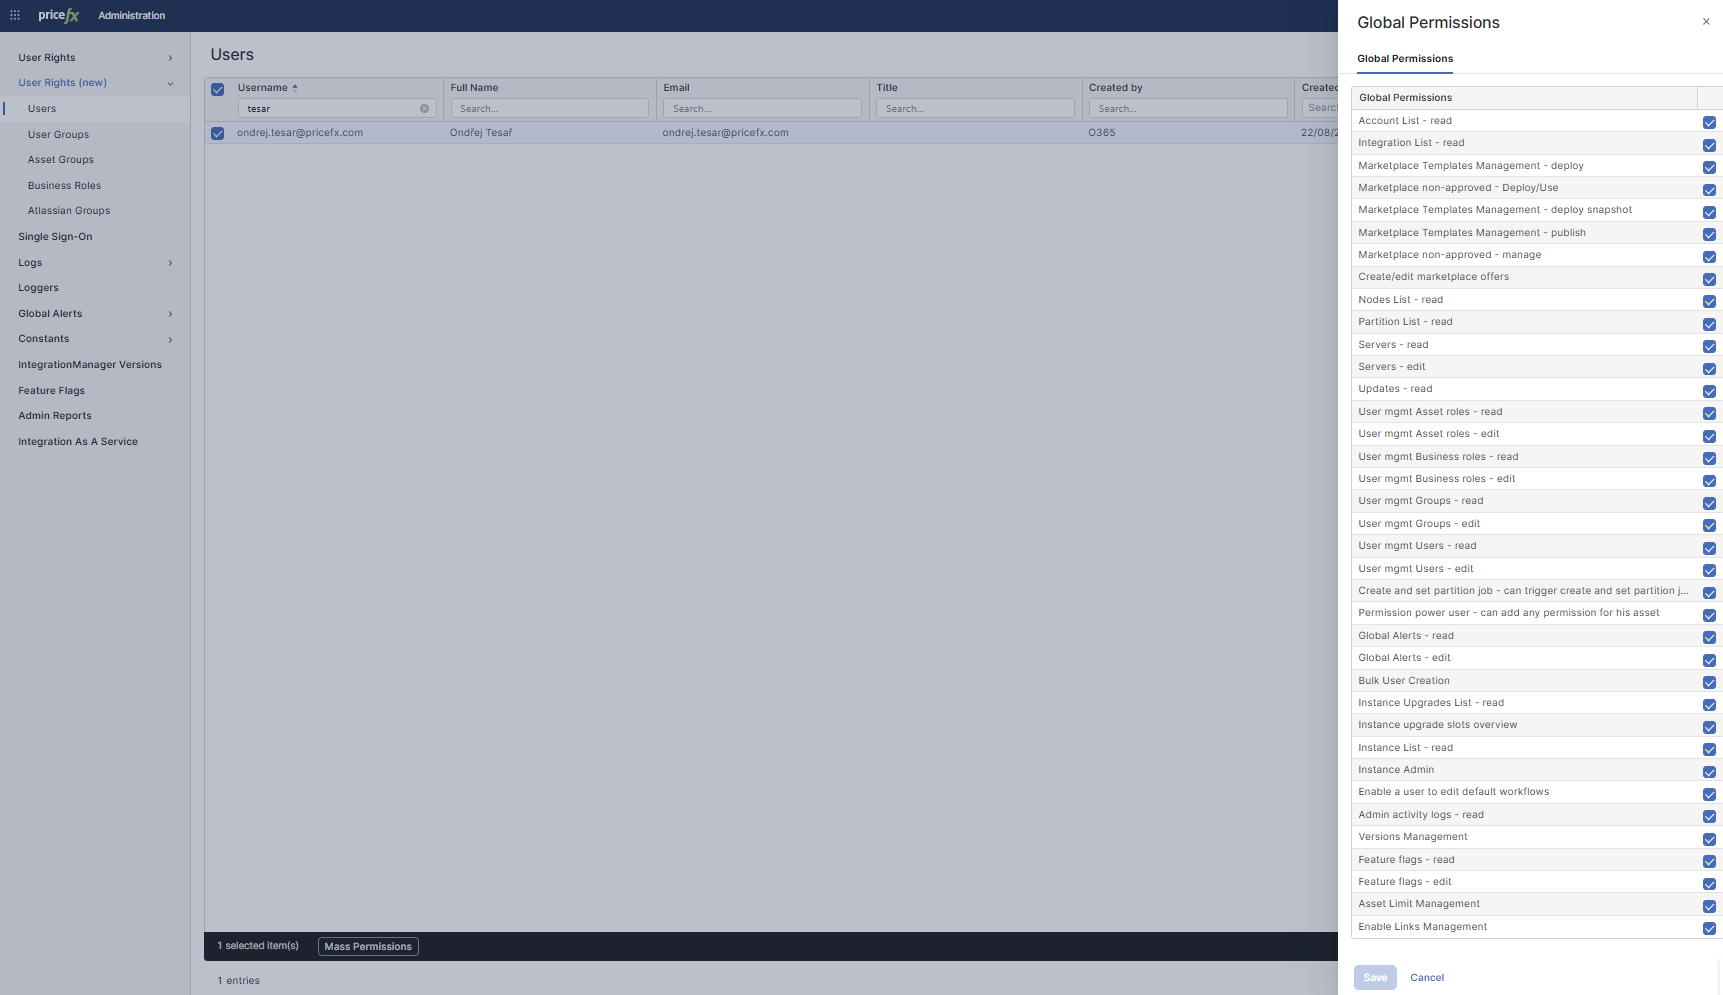
Assigning Global Permissions
To assign account permissions, you have two options:
-
On the Global Permissions tab, click the checkboxes to set permissions for individual objects/actions of that asset, click Save to confirm.
Assigning Assets
Displays the user-specific Asset Management view with tabs for each asset category – Accounts, Asset Groups, Global Asset Groups (for power users only). For details see Global Asset Class (PFX Only)..
Use the Asset Groups tab to create and reuse collections of related assets for bulk permission assignments. For details on asset groups see How to Create Asset Group.
To assign permissions:
-
Hover over the desired row and click the
⋯menu. -
Choose one of:
-
Account Permissions – open the permission selection panel for this asset. After selecting permissions, click Save if applicable.
If the permission is enabled but grayed out it means it was set elsewhere (in a specific account, asset group or business role) and can be edited only there. Some permissions are marked with "?" meaning that their assignment goes through an approval.
-
Asset Permissions (Accounts tab only) – display and manage assets for the selected account. After selecting permissions, click Save if applicable.
-
Exporting User Access Data
At the top right of the Users table, you’ll find two buttons dedicated to export options:
-
Export Access Report: Exports a detailed
CSVreport for selected users. Includes account, asset, and sub-asset permissions, roles, and access context.
⚠️ Requires
account.user_mgmtpermission.
-
Export CSV: Exports a flat list of users with metadata like name, email, status, title, creator, and last login timestamp. Does not include permission details.
Use Export Access Report for auditing access and Export CSV for reporting and general user overview.
To be able to use Assets and Business Roles, do the permissions setup from a particular account. For details see Account User Rights.