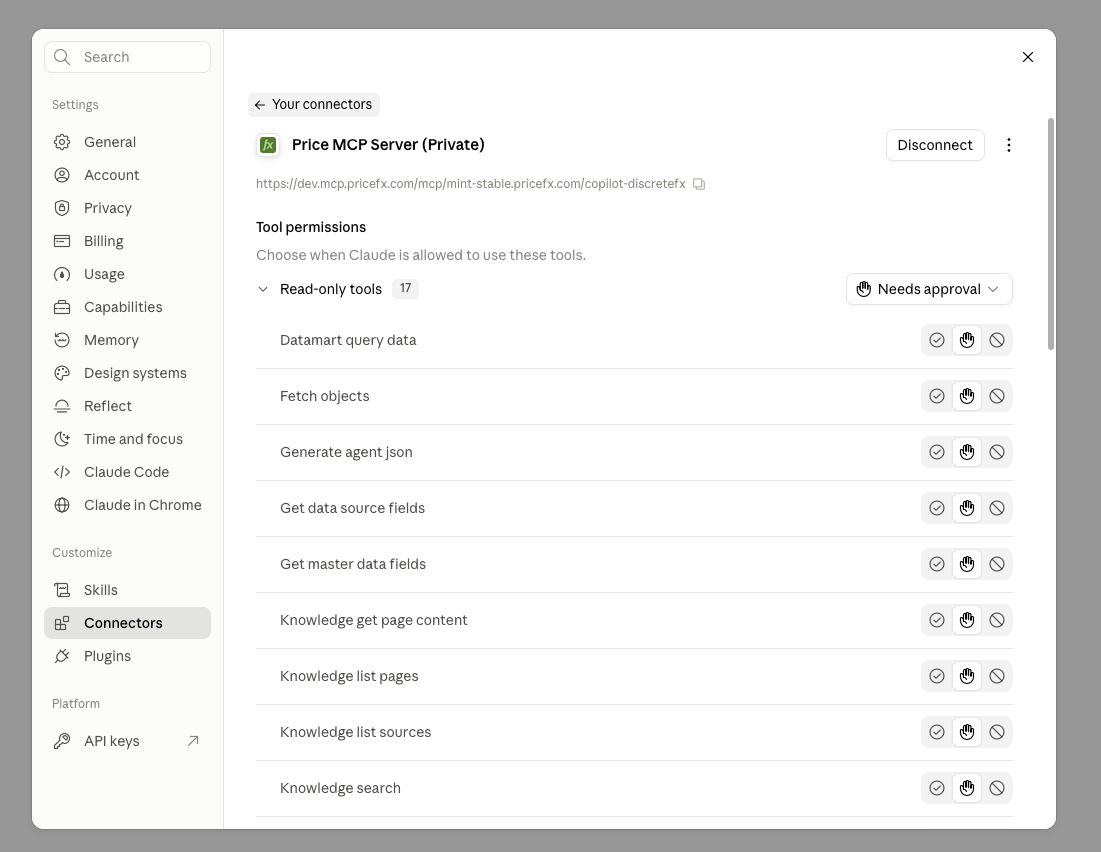
This page explains how to register the Pricefx MCP Server in your Pricefx partition and add it as a custom connector in Claude to create a private connection to the partition.
Prerequisites
You need permission to manage Advanced Configuration Options in the target Pricefx partition.
MCP Server Registration
To use OAuth, MCP server must be registered in the target Pricefx partition. This configuration is defined through the oauthConfiguration Advanced Configuration Option.
-
Log in to your Pricefx partition.
-
Go to Administration > Configuration > System Configuration > Advanced Configuration Options.
-
Click Add.
-
In the Add Option menu:
-
Enter
oauthConfigurationinto Name. -
Enter the following JSON code into Value.
JSON{ "knownClients": { "pricefx-mcp-server": { "redirect_uri": "https://mcp.pricefx.com/<instance>/<partition>/auth/callback" } } }Example:
https://mcp.pricefx.com/mint-stable.pricefx.com/copilot-discretefx/auth/callback
-
-
Click Add.
Create Connection
-
Open Claude in your browser.
-
Go to Settings > Connectors.
-
Click Add.
-
In the Add custom connector menu:
-
Enter a Name for the connector.
-
Enter
https://<mcp domain URL>/mcp/<instance base URL>/<partition>into the MCP server URL.
https://mcp.pricefx.com) -
Click Continue.
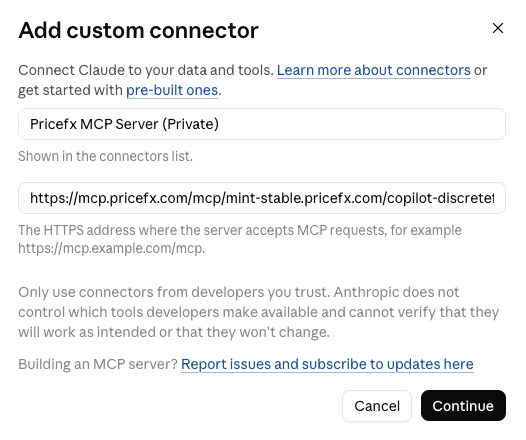
Add custom connector menu with the MCP server URL entered. -
In the Add custom connector menu:
-
In Authentication section, keep the detected option.
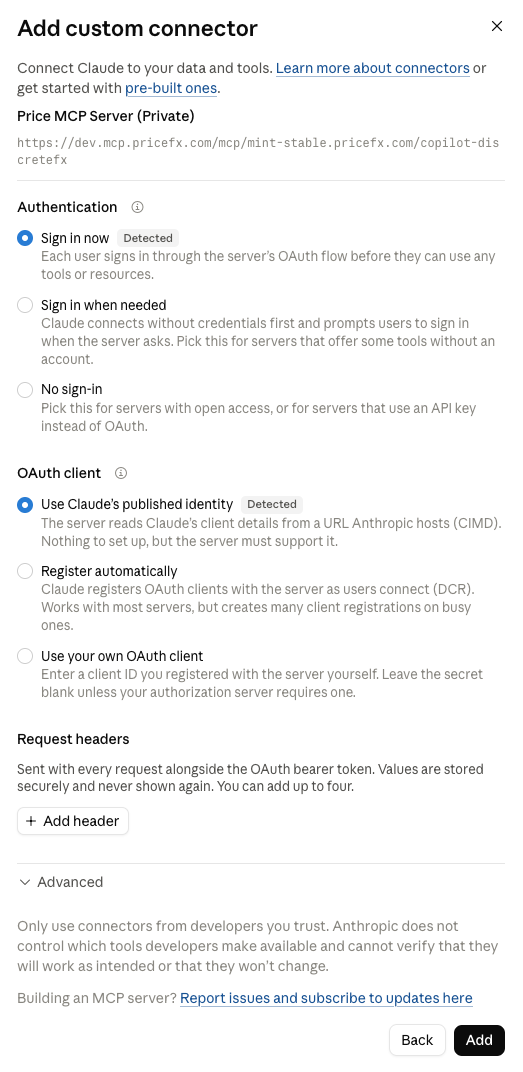
OAuth client configuration with the OAuth Client section.
-
-
-
Click Add.
-
In the Connectors menu, click Connect.
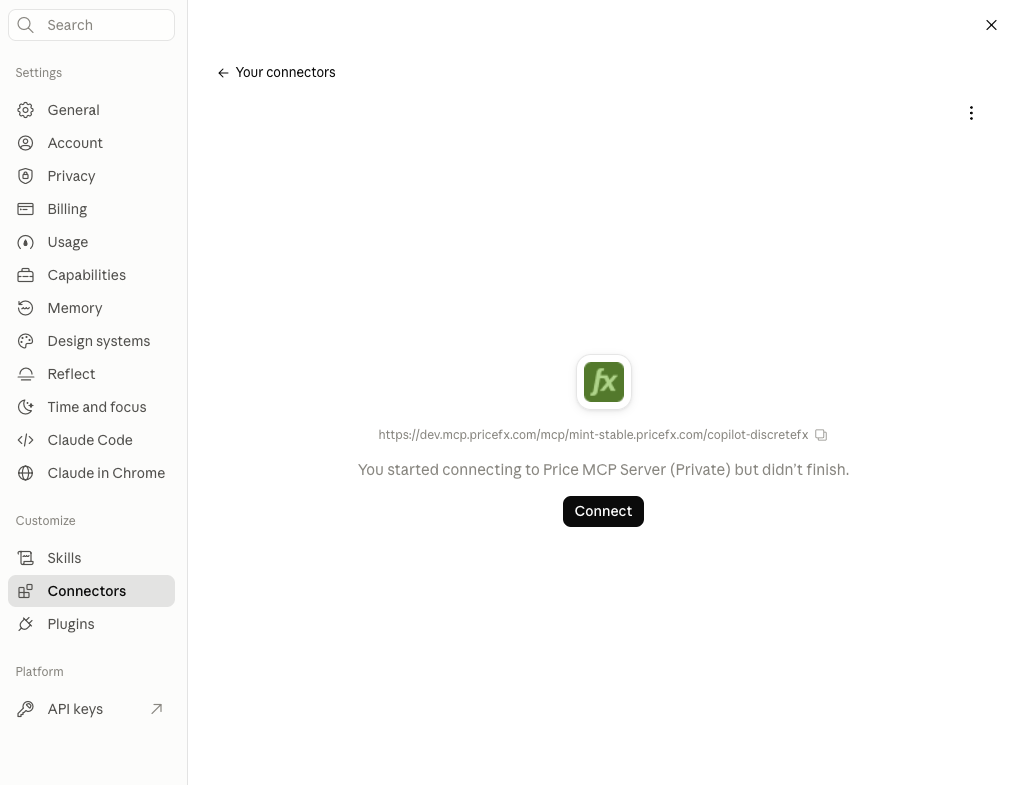
Connectors menu showing the newly added Pricefx connector. -
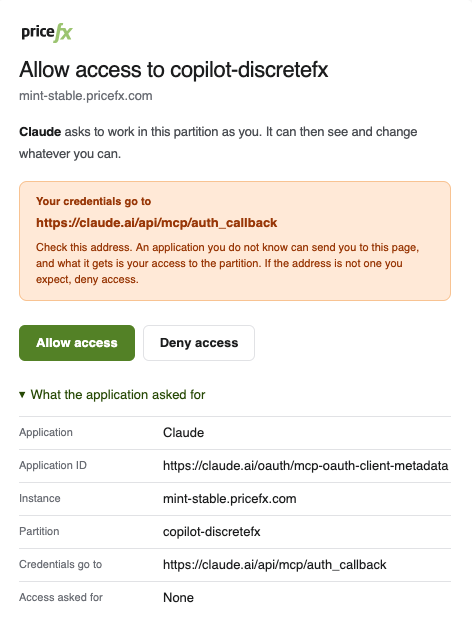
Your default browser will automatically open page with the Allow Access security step.
-
Click Allow Access to confirm.
-
Browser will automatically open the Pricefx login page.
-
Enter your Pricefx credentials for the target cluster and partition.
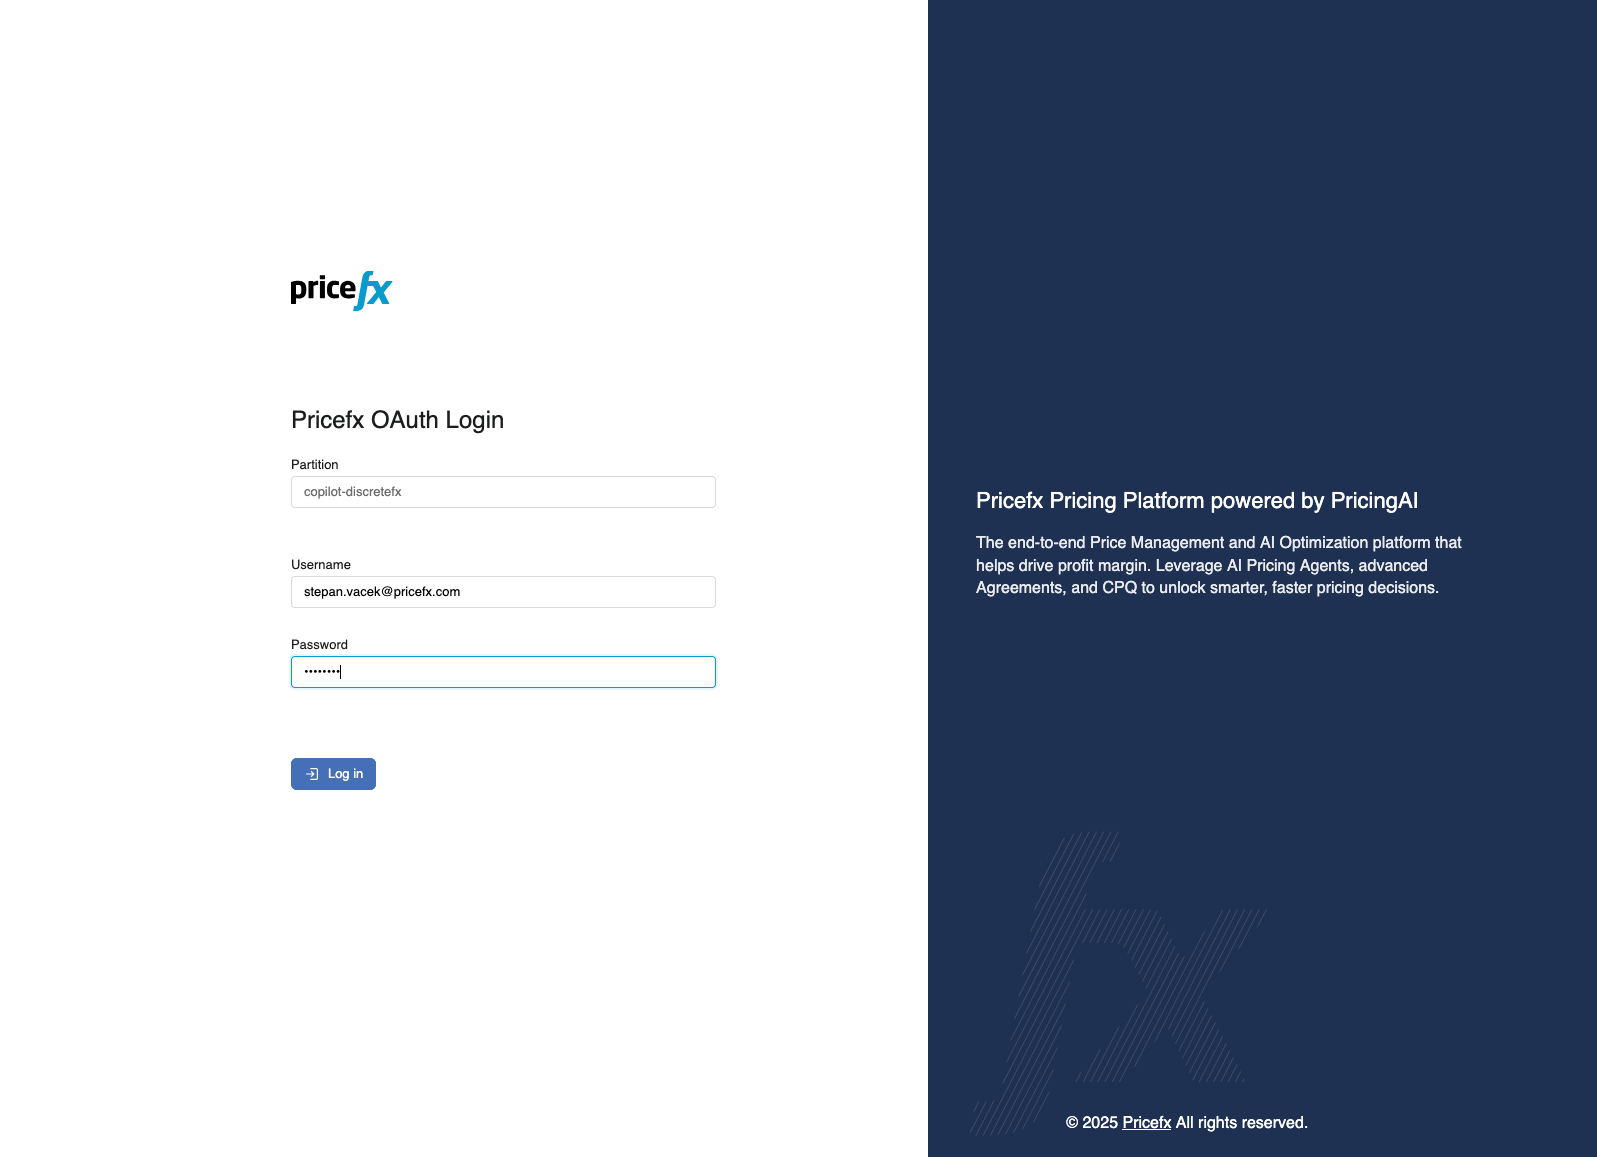
Pricefx login page for the selected cluster and partition. -
Click Log in.
-
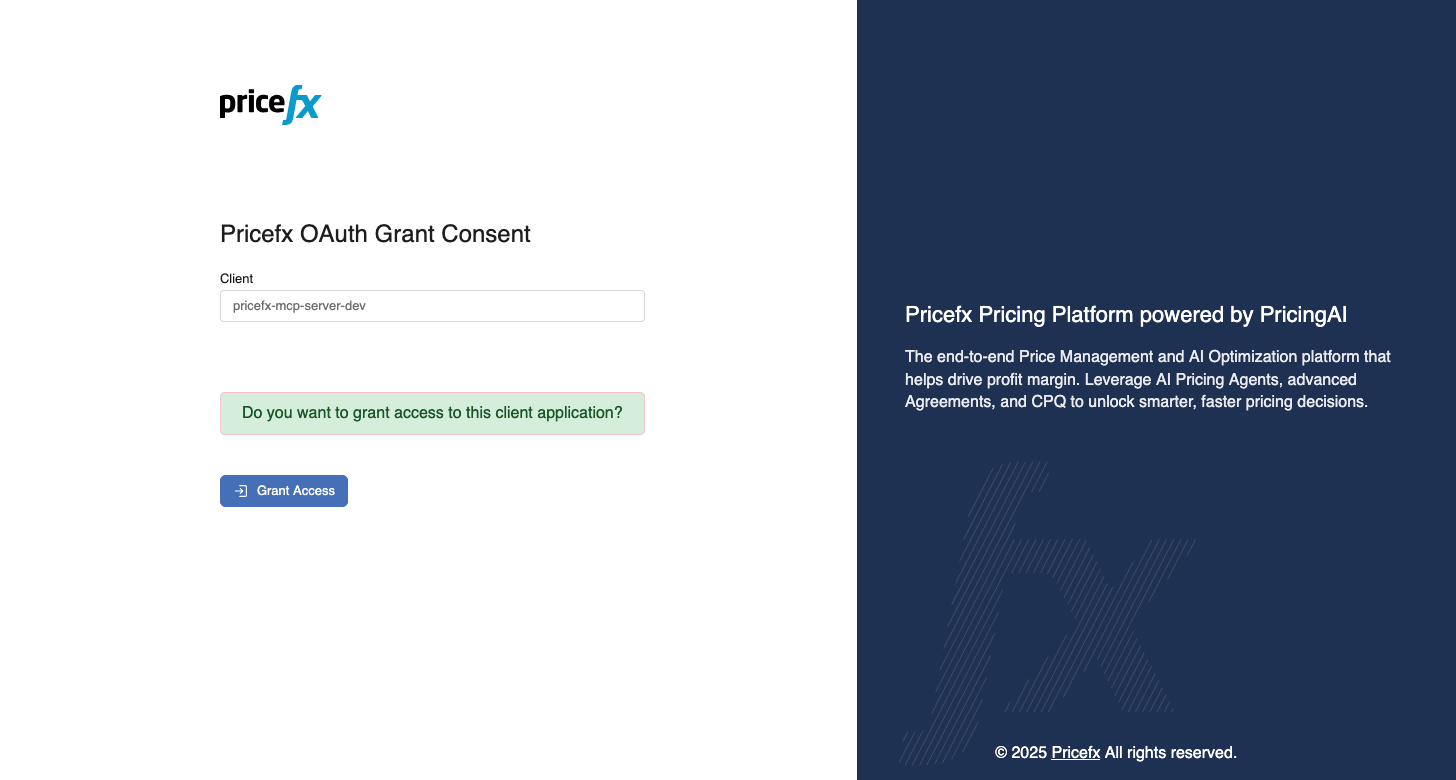
On the authorization page, review the requested permissions for the client application.
-
Click Grant Access.
You are redirected back to Claude. The Pricefx connector shows as connected in the Connectors menu, and Claude can use the Pricefx tools in your conversations.