This page explains how to register ChatGPT as an OAuth client in Pricefx and configure a custom connector in ChatGPT to establish a private connection to your partition via a Remote MCP server.
Client Registration
To use OAuth, each client must be registered with a specific client_id. This configuration is defined through the oauthConfiguration Advanced Configuration Option. Multiple clients can be registered within this setting.
-
Login to your Pricefx partition.
-
Go to Administration > Configuration > System Configuration > Advanced Configuration Options.
-
Click Add.
-
In the Add Option menu:
-
Enter
oauthConfigurationinto Name. -
Enter the following JSON code into Value.
JSON{ "knownClients": { "chatgpt": { "redirect_uri": "https://chatgpt.com/connector_platform_oauth_redirect" } } }
-
-
Click Add.
For more information about ChatGPT OAuth callback URL see Authentication.
Turn On Developer Mode
-
Open browser with ChatGPT.
-
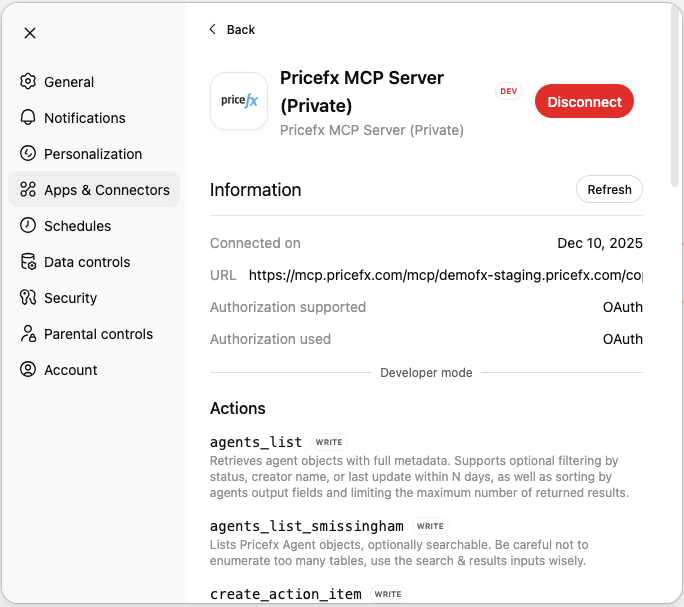
Go to Settings > Apps & Connectors > Advanced settings.
-
Turn on the Developer mode.
Create Connection
-
Open browser with ChatGPT.
-
Go to Settings > Apps & Connectors.
-
Click Create app.
-
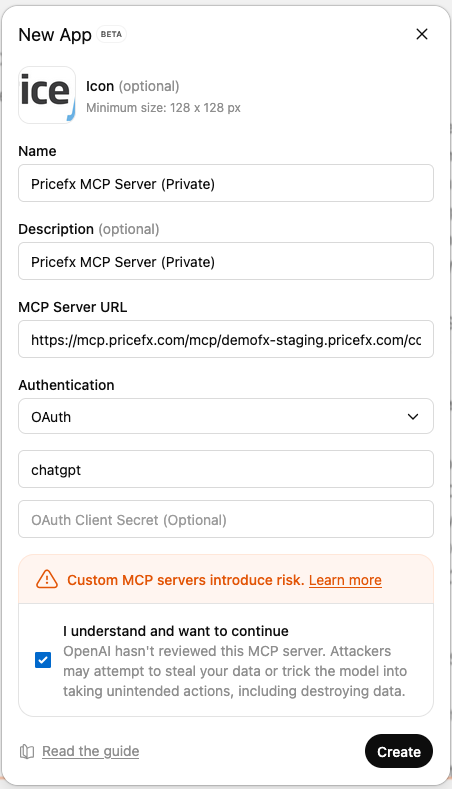
In the New app menu:
-
Enter the Name.
-
Enter a Description (optional).
-
Enter
https://<mcp domain URL>/mcp/<instance base URL>/<partition>into the MCP server URL.
MCP Domain URL (
https://mcp.pricefx.com/mcp)
-
-
In the Authentication section:
-
Select OAuth.
-
Enter OAuth Client ID.
client_idfrom theoauthConfigurationAdvanced Configuration Option.
-
-
Check I understand and want to continue option.
-
Click Create.
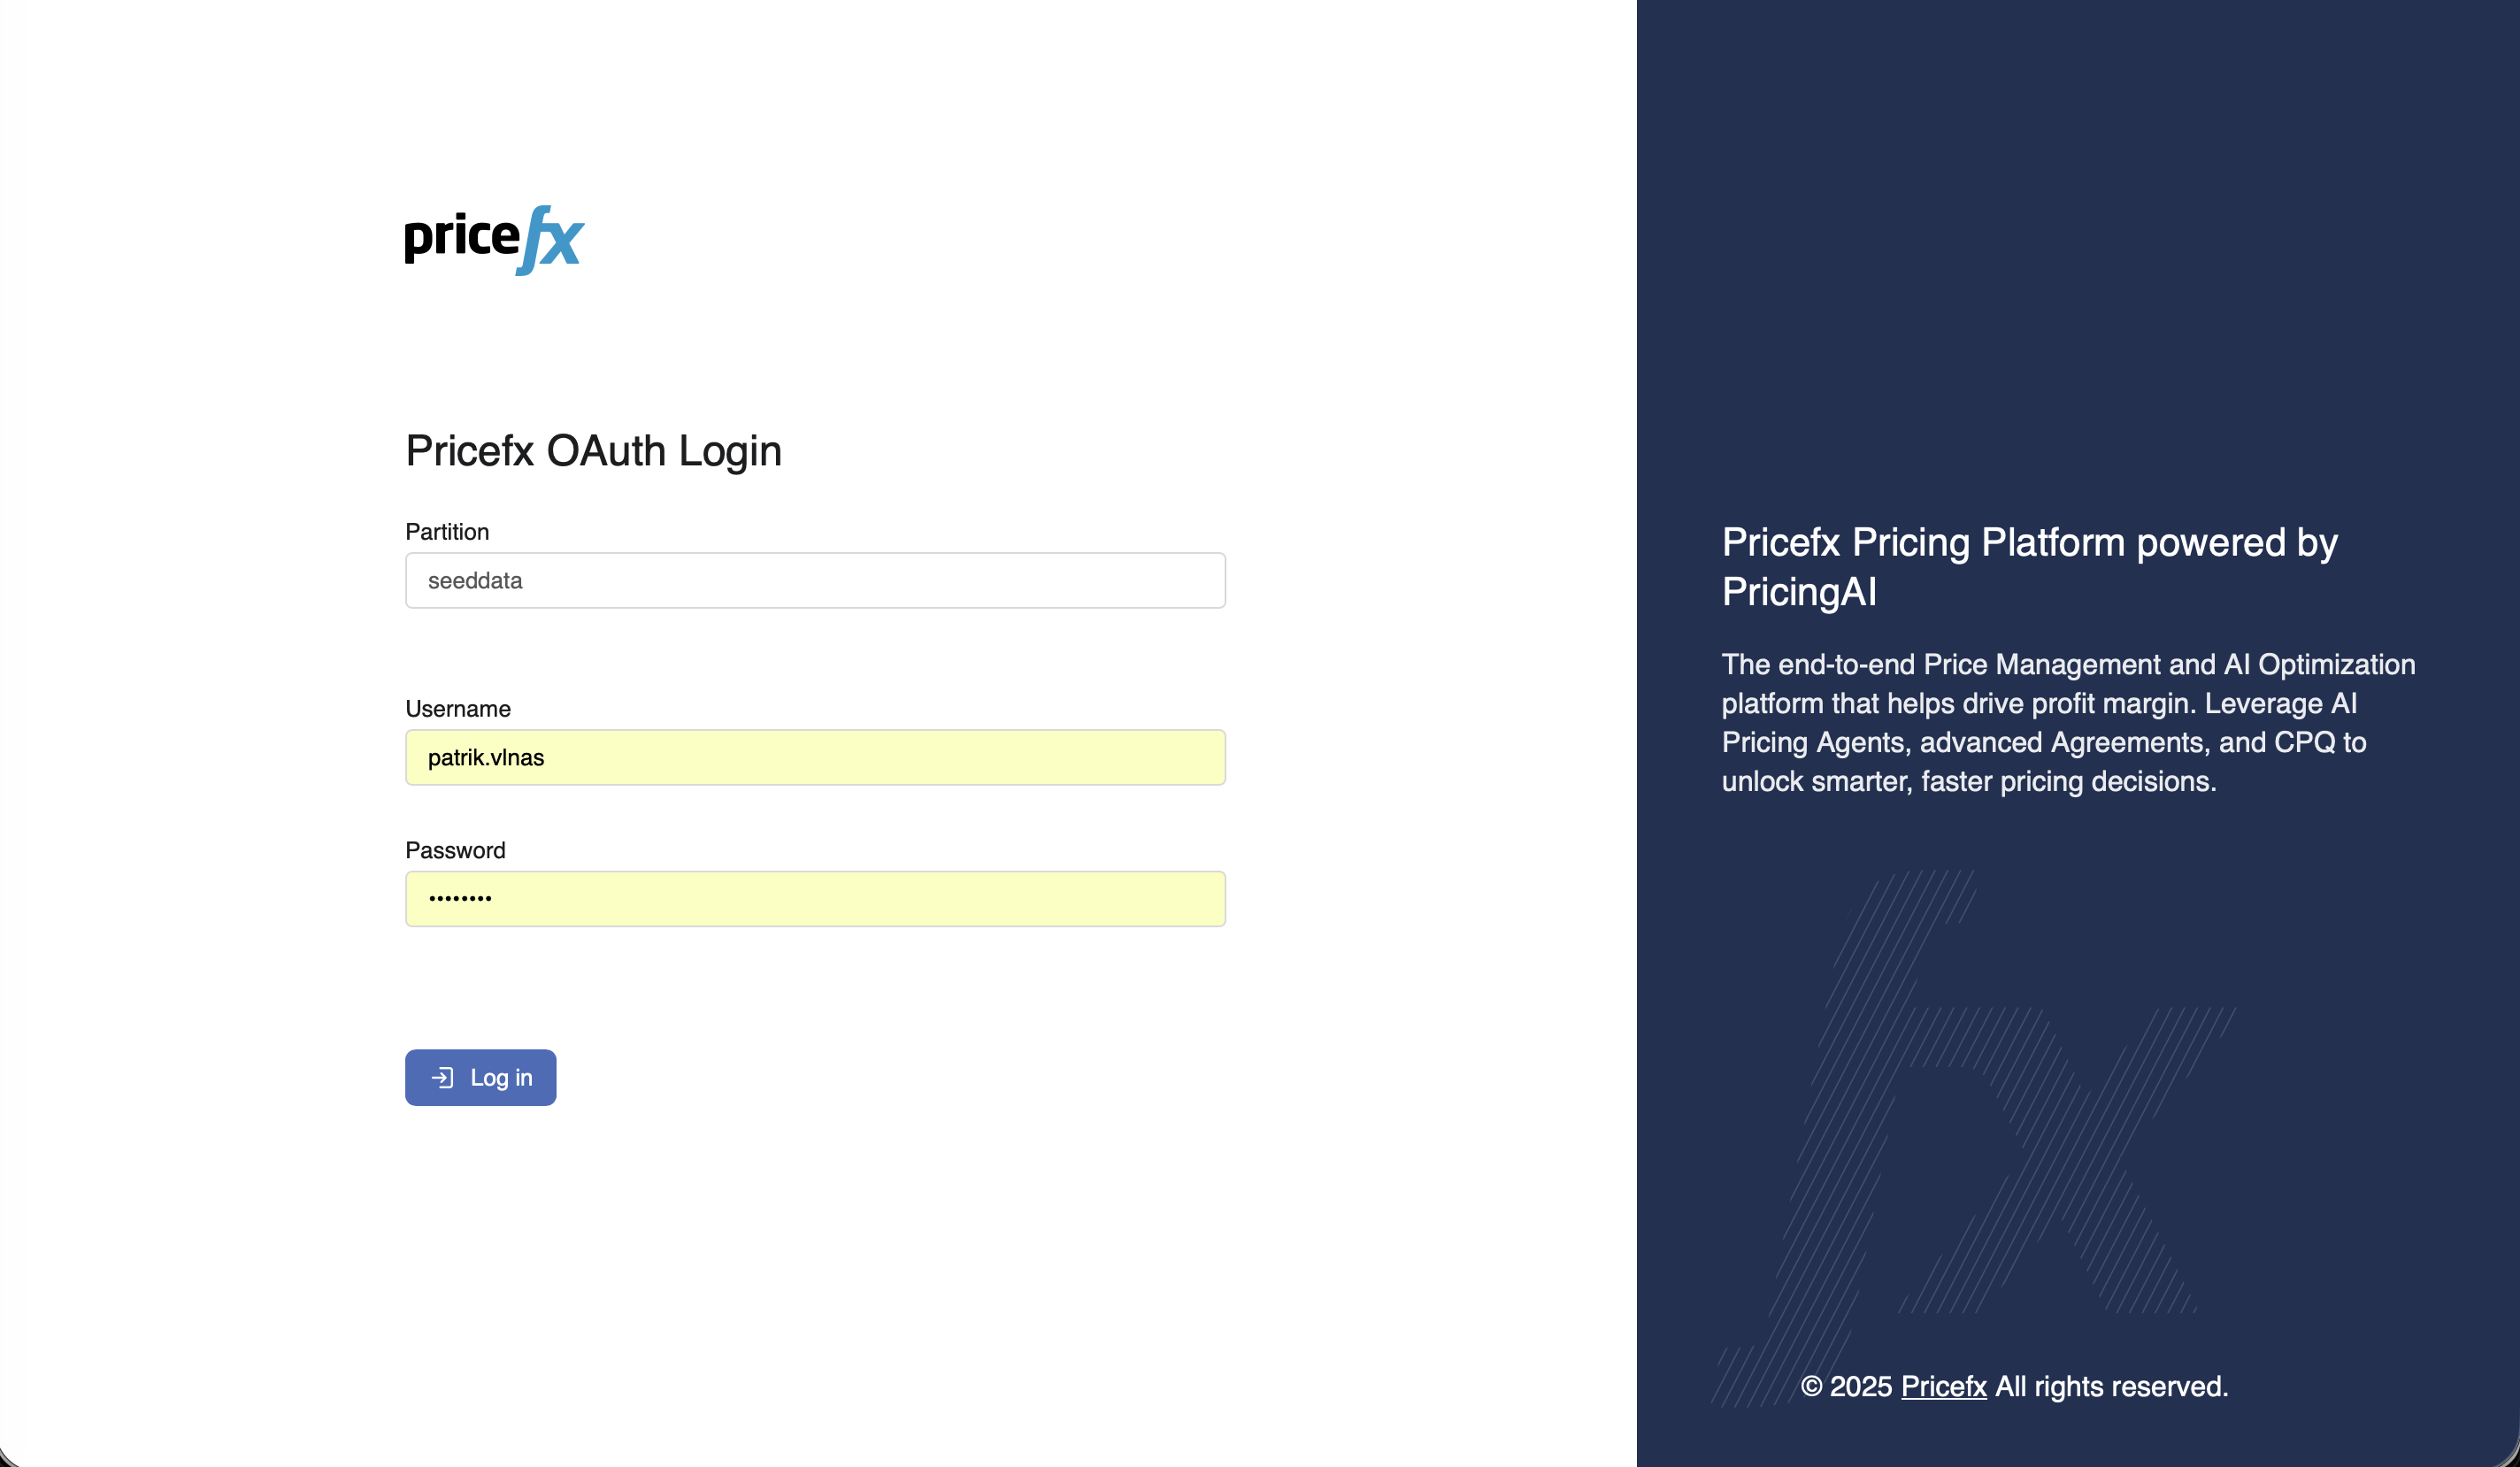
Once saved, your default browser will automatically open the Pricefx login page. Use your personal credentials corresponding to the specific cluster/partition combination.