Take the following steps:
-
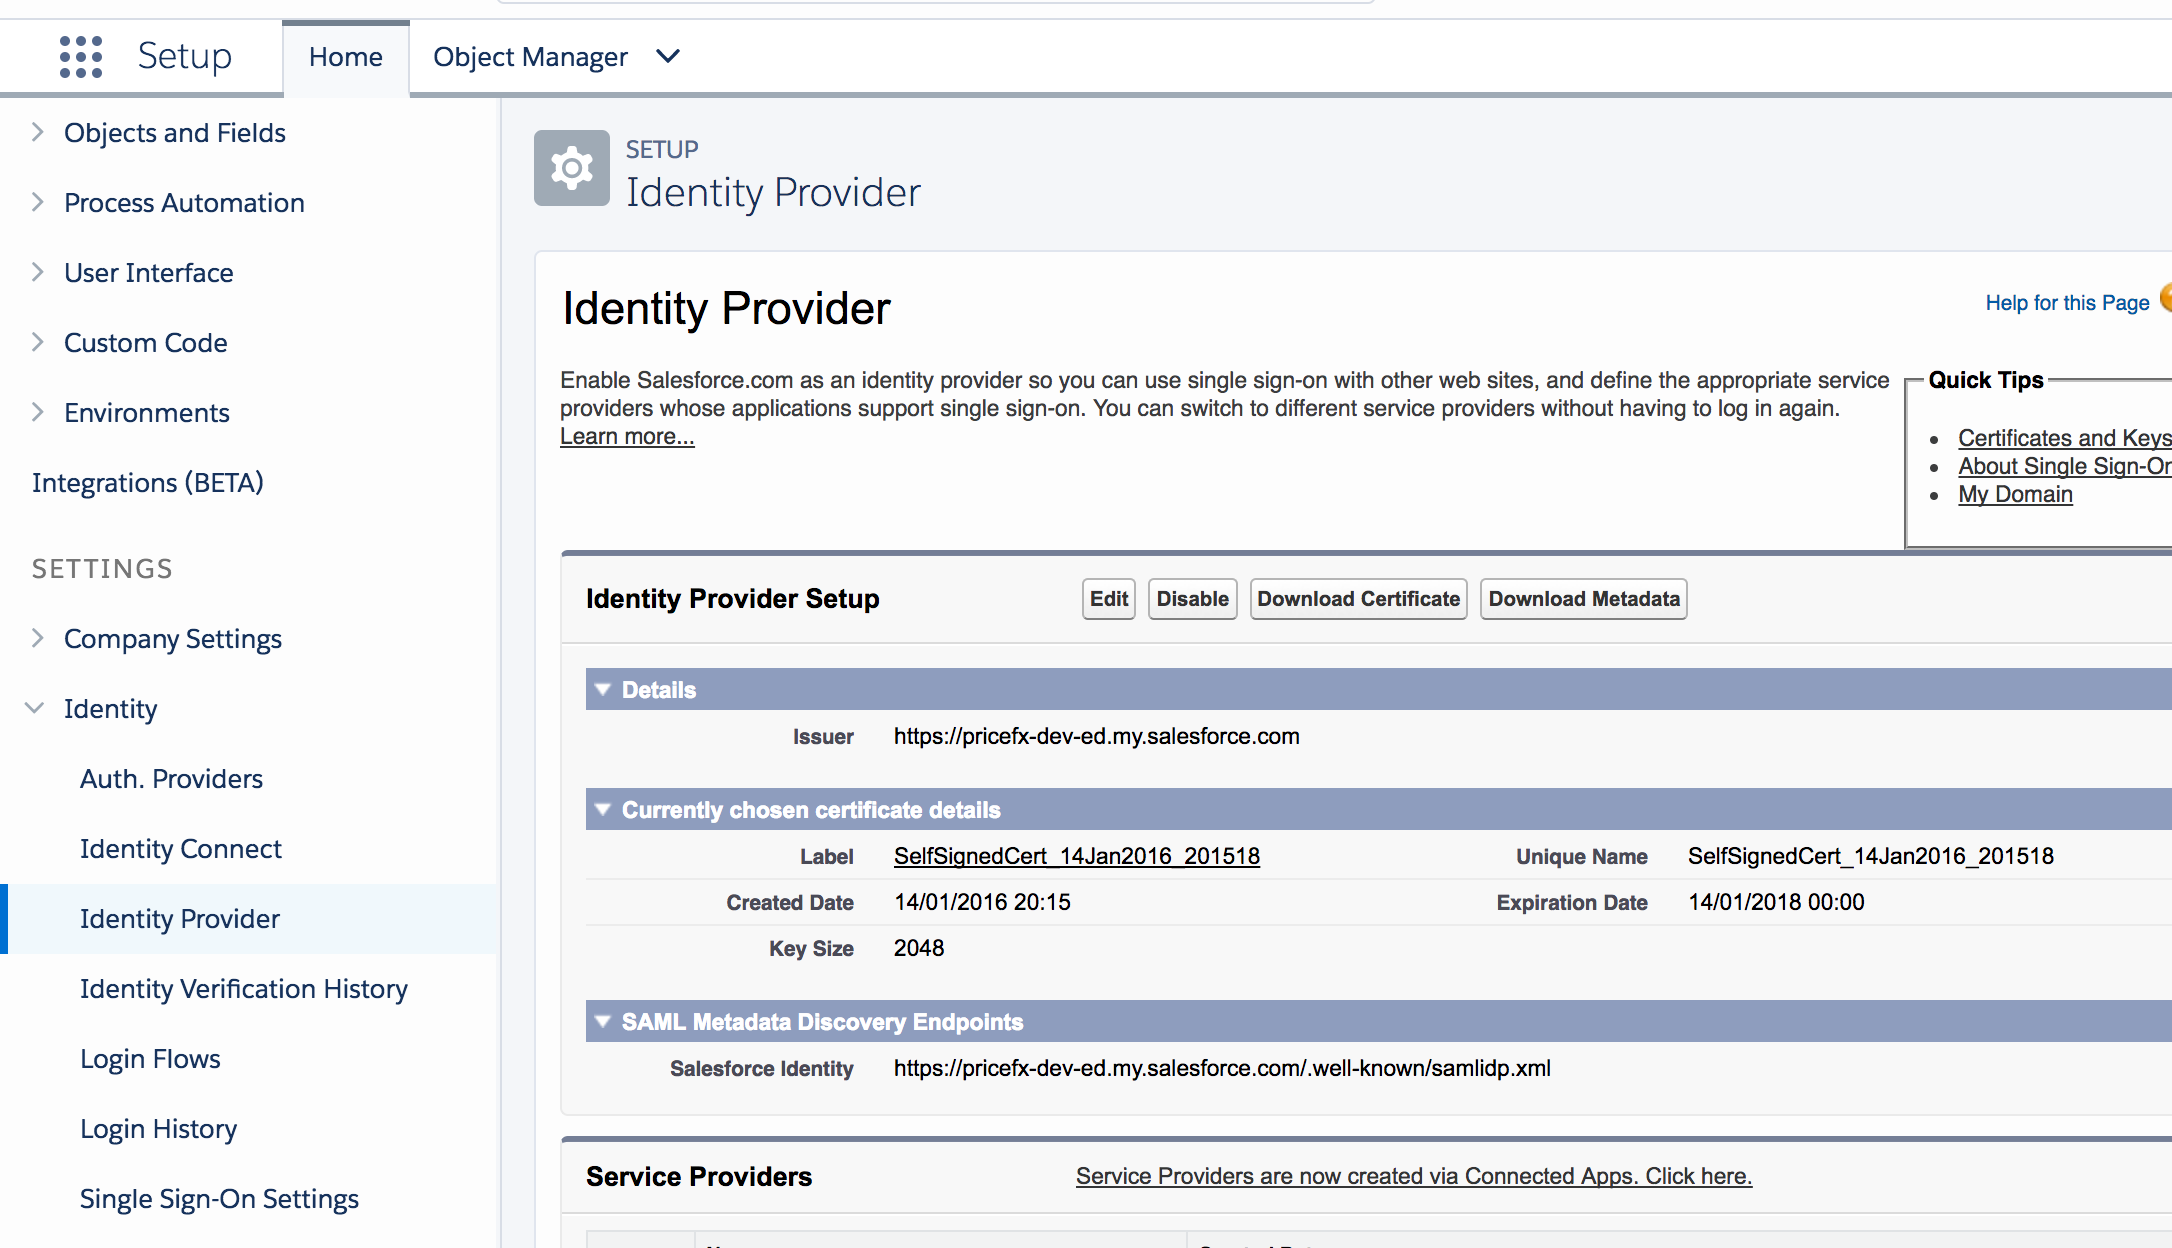
In Salesforce, go to Setup > Identity > Identity Provider and click Download Certificate to get the public certificate of the Identity Provider.
-
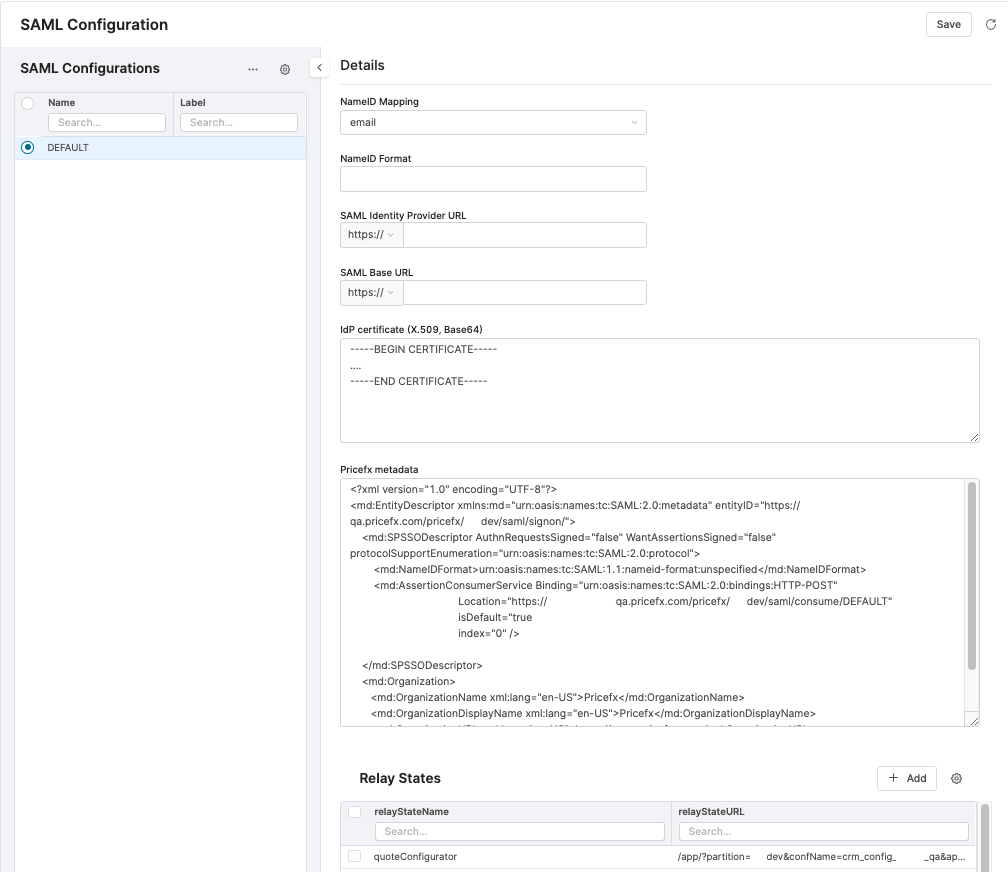
In Pricefx, go to Configuration > External Systems > SAML Configuration and create a new configuration.
-
Make the following settings:
-
Select email in NameID Mapping.
-
Enter the URL of the SAML SSO page of the Identity Provider. Identity Provider login URL can be checked at Setup > Settings > Identity > Single Sign-On Settings if SSO is enabled.
-
Paste the previously downloaded public certificate into the IdP Certificate field. Use the following commands to convert the certificate file from .crt to .pem format.
Mac
Bashopenssl x509 -in SelfSignedCert_13Jul2017.crt -outform PEM -out o.pem cat o.pemWindows
Bashtype SelfSignedCert_13Jul2017.crt -
Add a new relay state:
-
Set relayStateName to "quoteConfigurator".
-
Set relayStateURL to where the canvas app is located. The pattern will be as follows: https://<cluster domain name>/app/?partition=<partition name>&applicationEnvironment=salesforce&confName=<config name>
-
-
-
Click Save.