To integrate Unity to MS Dynamics Dashboard in default solution, follow these steps:
-
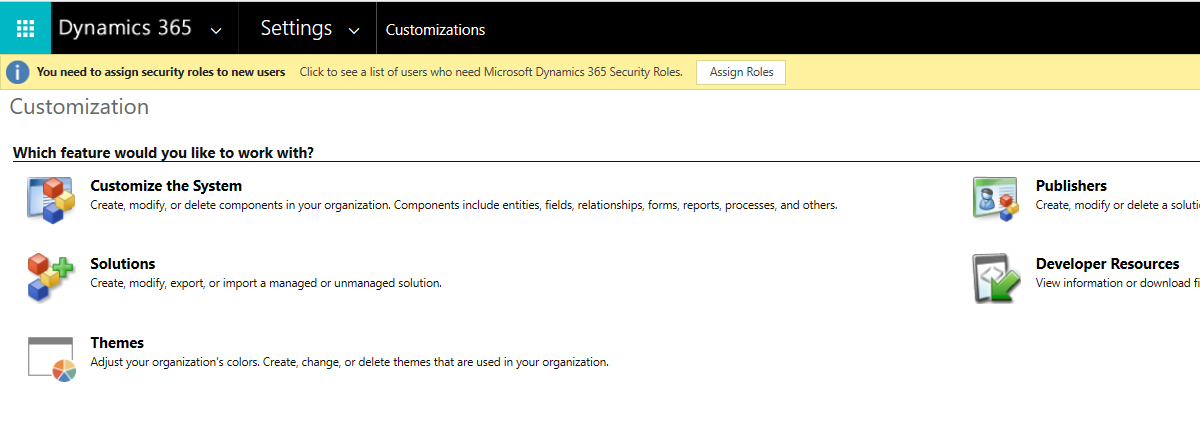
Go to Settings > Customization and click Customize the System.
-
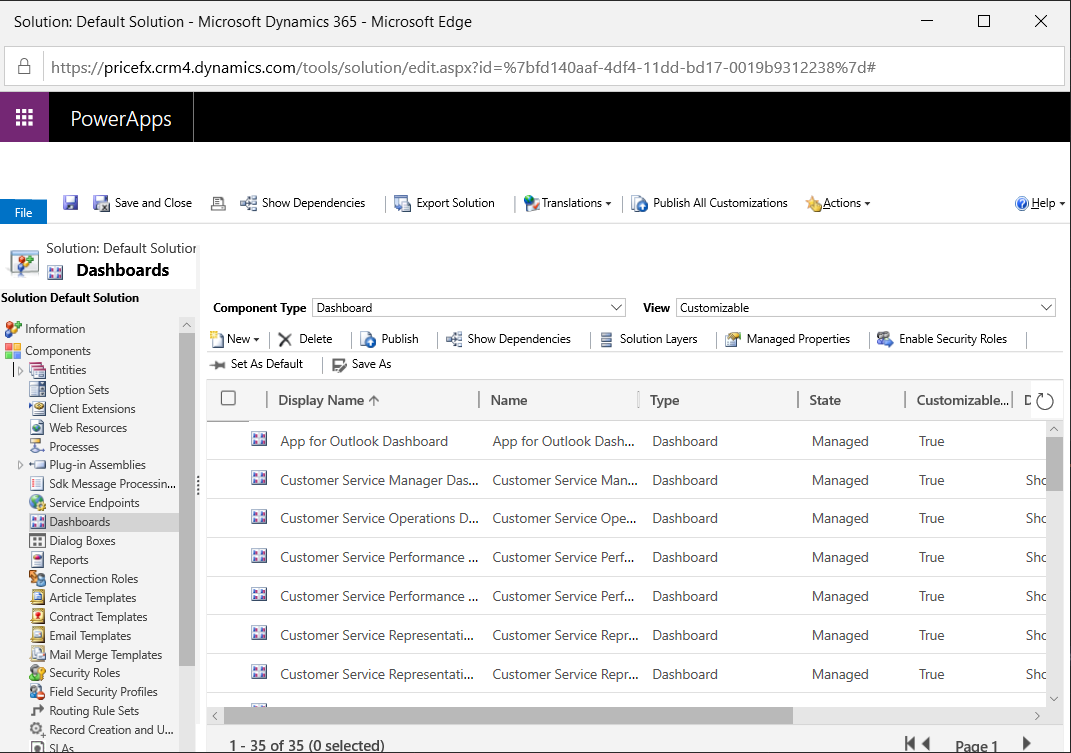
In the tree, go to Components > Web Resources.

-
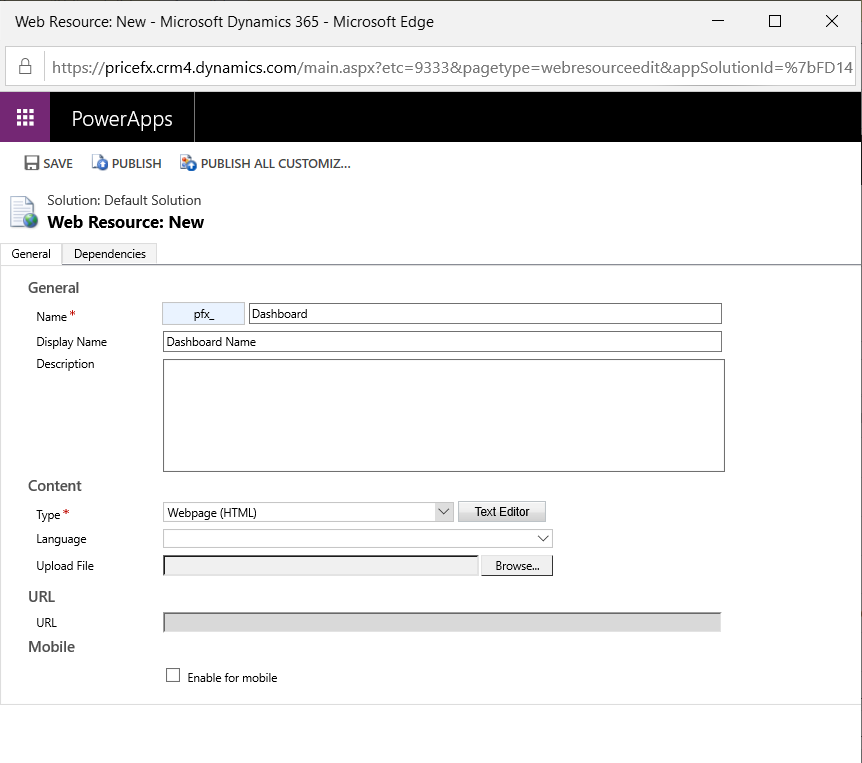
Click New in the top menu bar.
-
Enter Name, Display Name and select Webpage (HTML) Type for this web resource.
-
Click Text Editor to add the following script, locate the <iframe> tag and update the 'src' attribute to follow this format:
https://<customer cluster domain name>/pricefx/<partition name>/saml/consume?RelayState=<Relay State Name>

Dashboard Script
JavaScript<html><head><script type="text/javascript"> var PFXDashboardLookup = function (event) { var jsonData = JSON.parse(event.data); var action = jsonData.action; var data = jsonData.data; switch (action) { case 'getPayload': console.log("..DYNAMICS.eventHandler getEntityInfo", action); var response = {}; response.action = action; response.entityName = 'dashboard'; event.source.postMessage(JSON.stringify(response), event.origin); break; case 'getEntityInfo': console.log("..DYNAMICS.eventHandler getEntityInfo", action); var response = {}; response.entityName = 'dashboard'; event.source.postMessage(JSON.stringify(response), event.origin); break; case 'findOpportunities': console.log("..DYNAMICS.eventHandler findOpportunities", action); var xmlhttp = new XMLHttpRequest(); xmlhttp.onreadystatechange = function(){ if (xmlhttp.readyState == 4 && xmlhttp.status == 200){ var opportunities = []; var response = JSON.parse(xmlhttp.responseText); for (var i = 0; i < response.value.length; ++i) { var opportunity = response.value[i]; opportunities.push( { Id: '{' + opportunity.opportunityid + '}', Name: opportunity.name } ); } event.source.postMessage(JSON.stringify({ id: '1', data: opportunities }), event.origin); } } xmlhttp.open("GET", '/api/data/V8.0/opportunities/?$select=name&$top=10&$filter=contains(name,\'' + data.searchText + '\')', true); xmlhttp.send(); break; } return; } document.onreadystatechange = function () { if (document.readyState == "complete") { if (window.XMLHttpRequest) { parent.addEventListener("message", PFXDashboardLookup, false); } else { parent.attachEvent('onmessage', PFXDashboardLookup); } window.parent.document.getElementById('WebResource_Componente65d6bb').style.height = '3000px'; } } </script> <iframe src="https://<customer cluster domain name>/pricefx/<partition name>/saml/consume?RelayState=<Relay State Name>" style="width:100%; height:2000px;overflow:auto;"> </iframe></body></html> -
Click OK, save and publish this web resource.
-
Go back to Solution Customization and select Components > Dashboards.
-
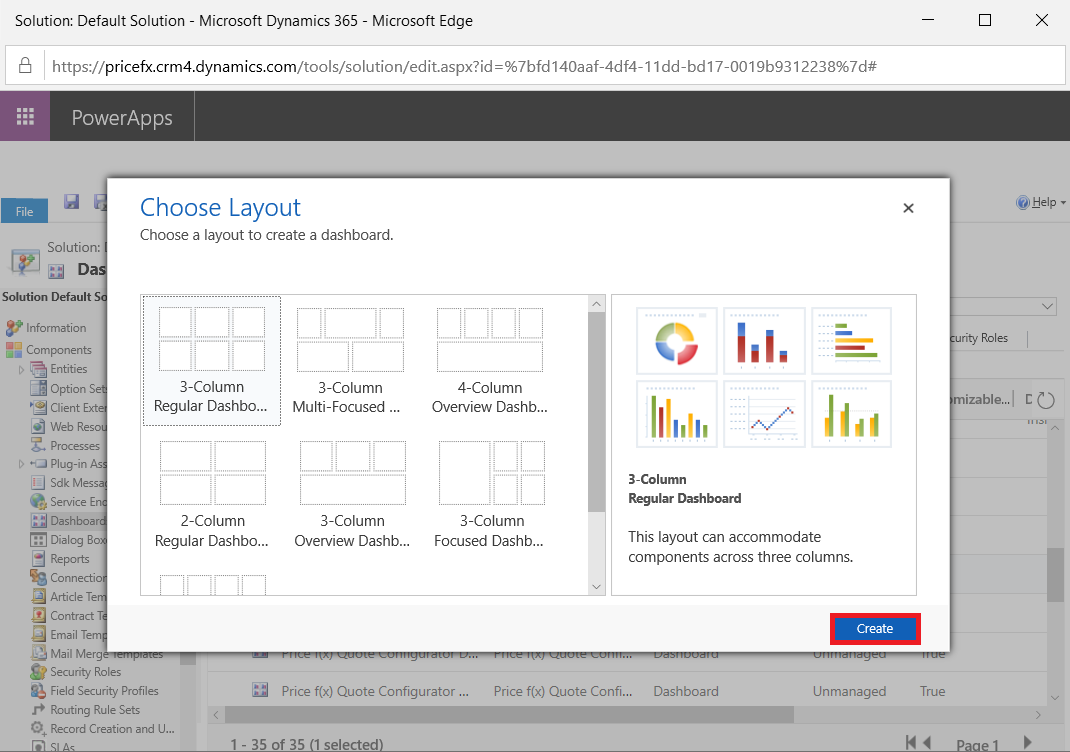
Click New in the top menu bar and select Dashboard to create a new dashboard.
-
Click Create to add a new empty dashboard.
-
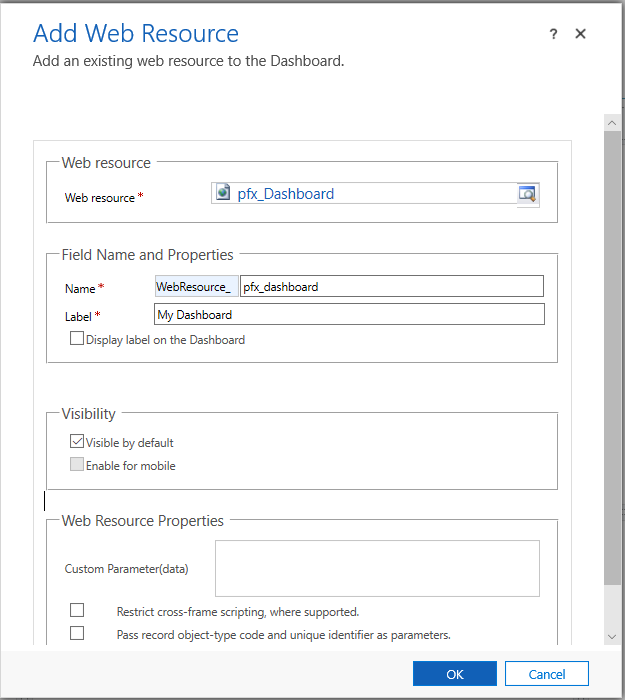
Enter the name and click the Web Resource button in the top menu bar.
-
Select the above web resource and fill in the required Name and Label.
-
Click OK and save your change.
-
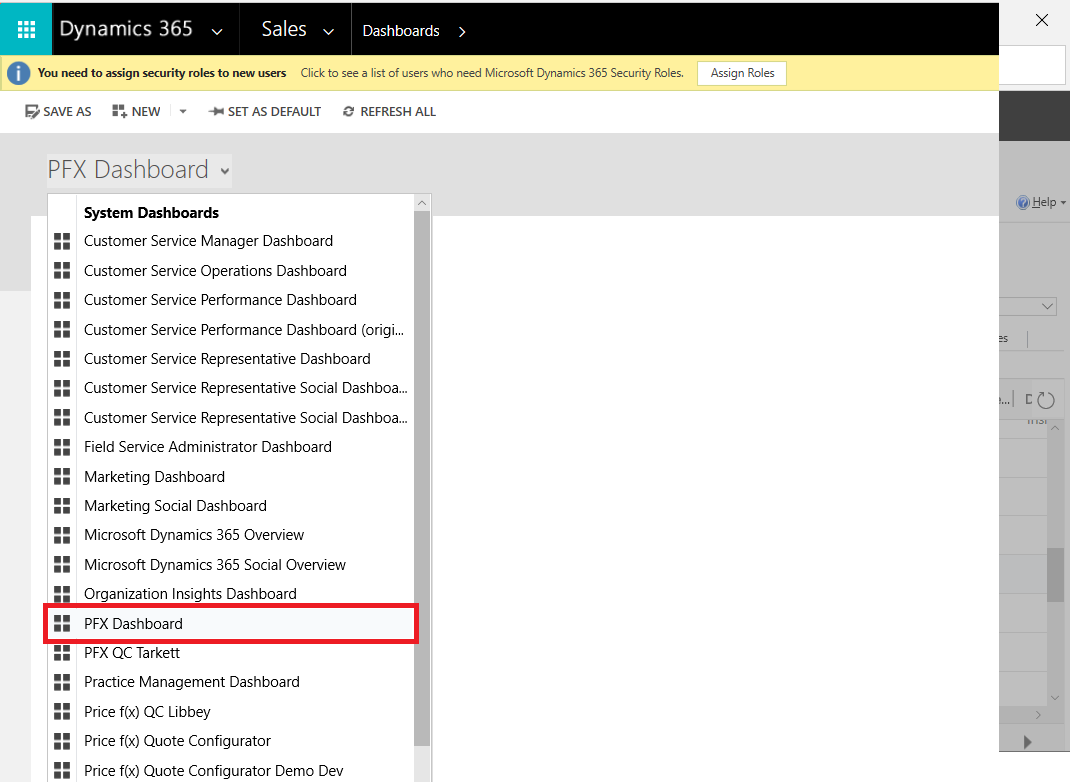
Finally, you can check your work by switching back to Sales > Dashboards and selecting the created dashboard.