To transfer all data at once between the two partitions/environments, follow these steps:
-
In the source partition, go to Administration > Configuration > Import / Export / Archiving > Data Exports
-
Click the New Export button.
-
Provide a label for your new data export item.
-
Select your data export item and click the Configure button.
-
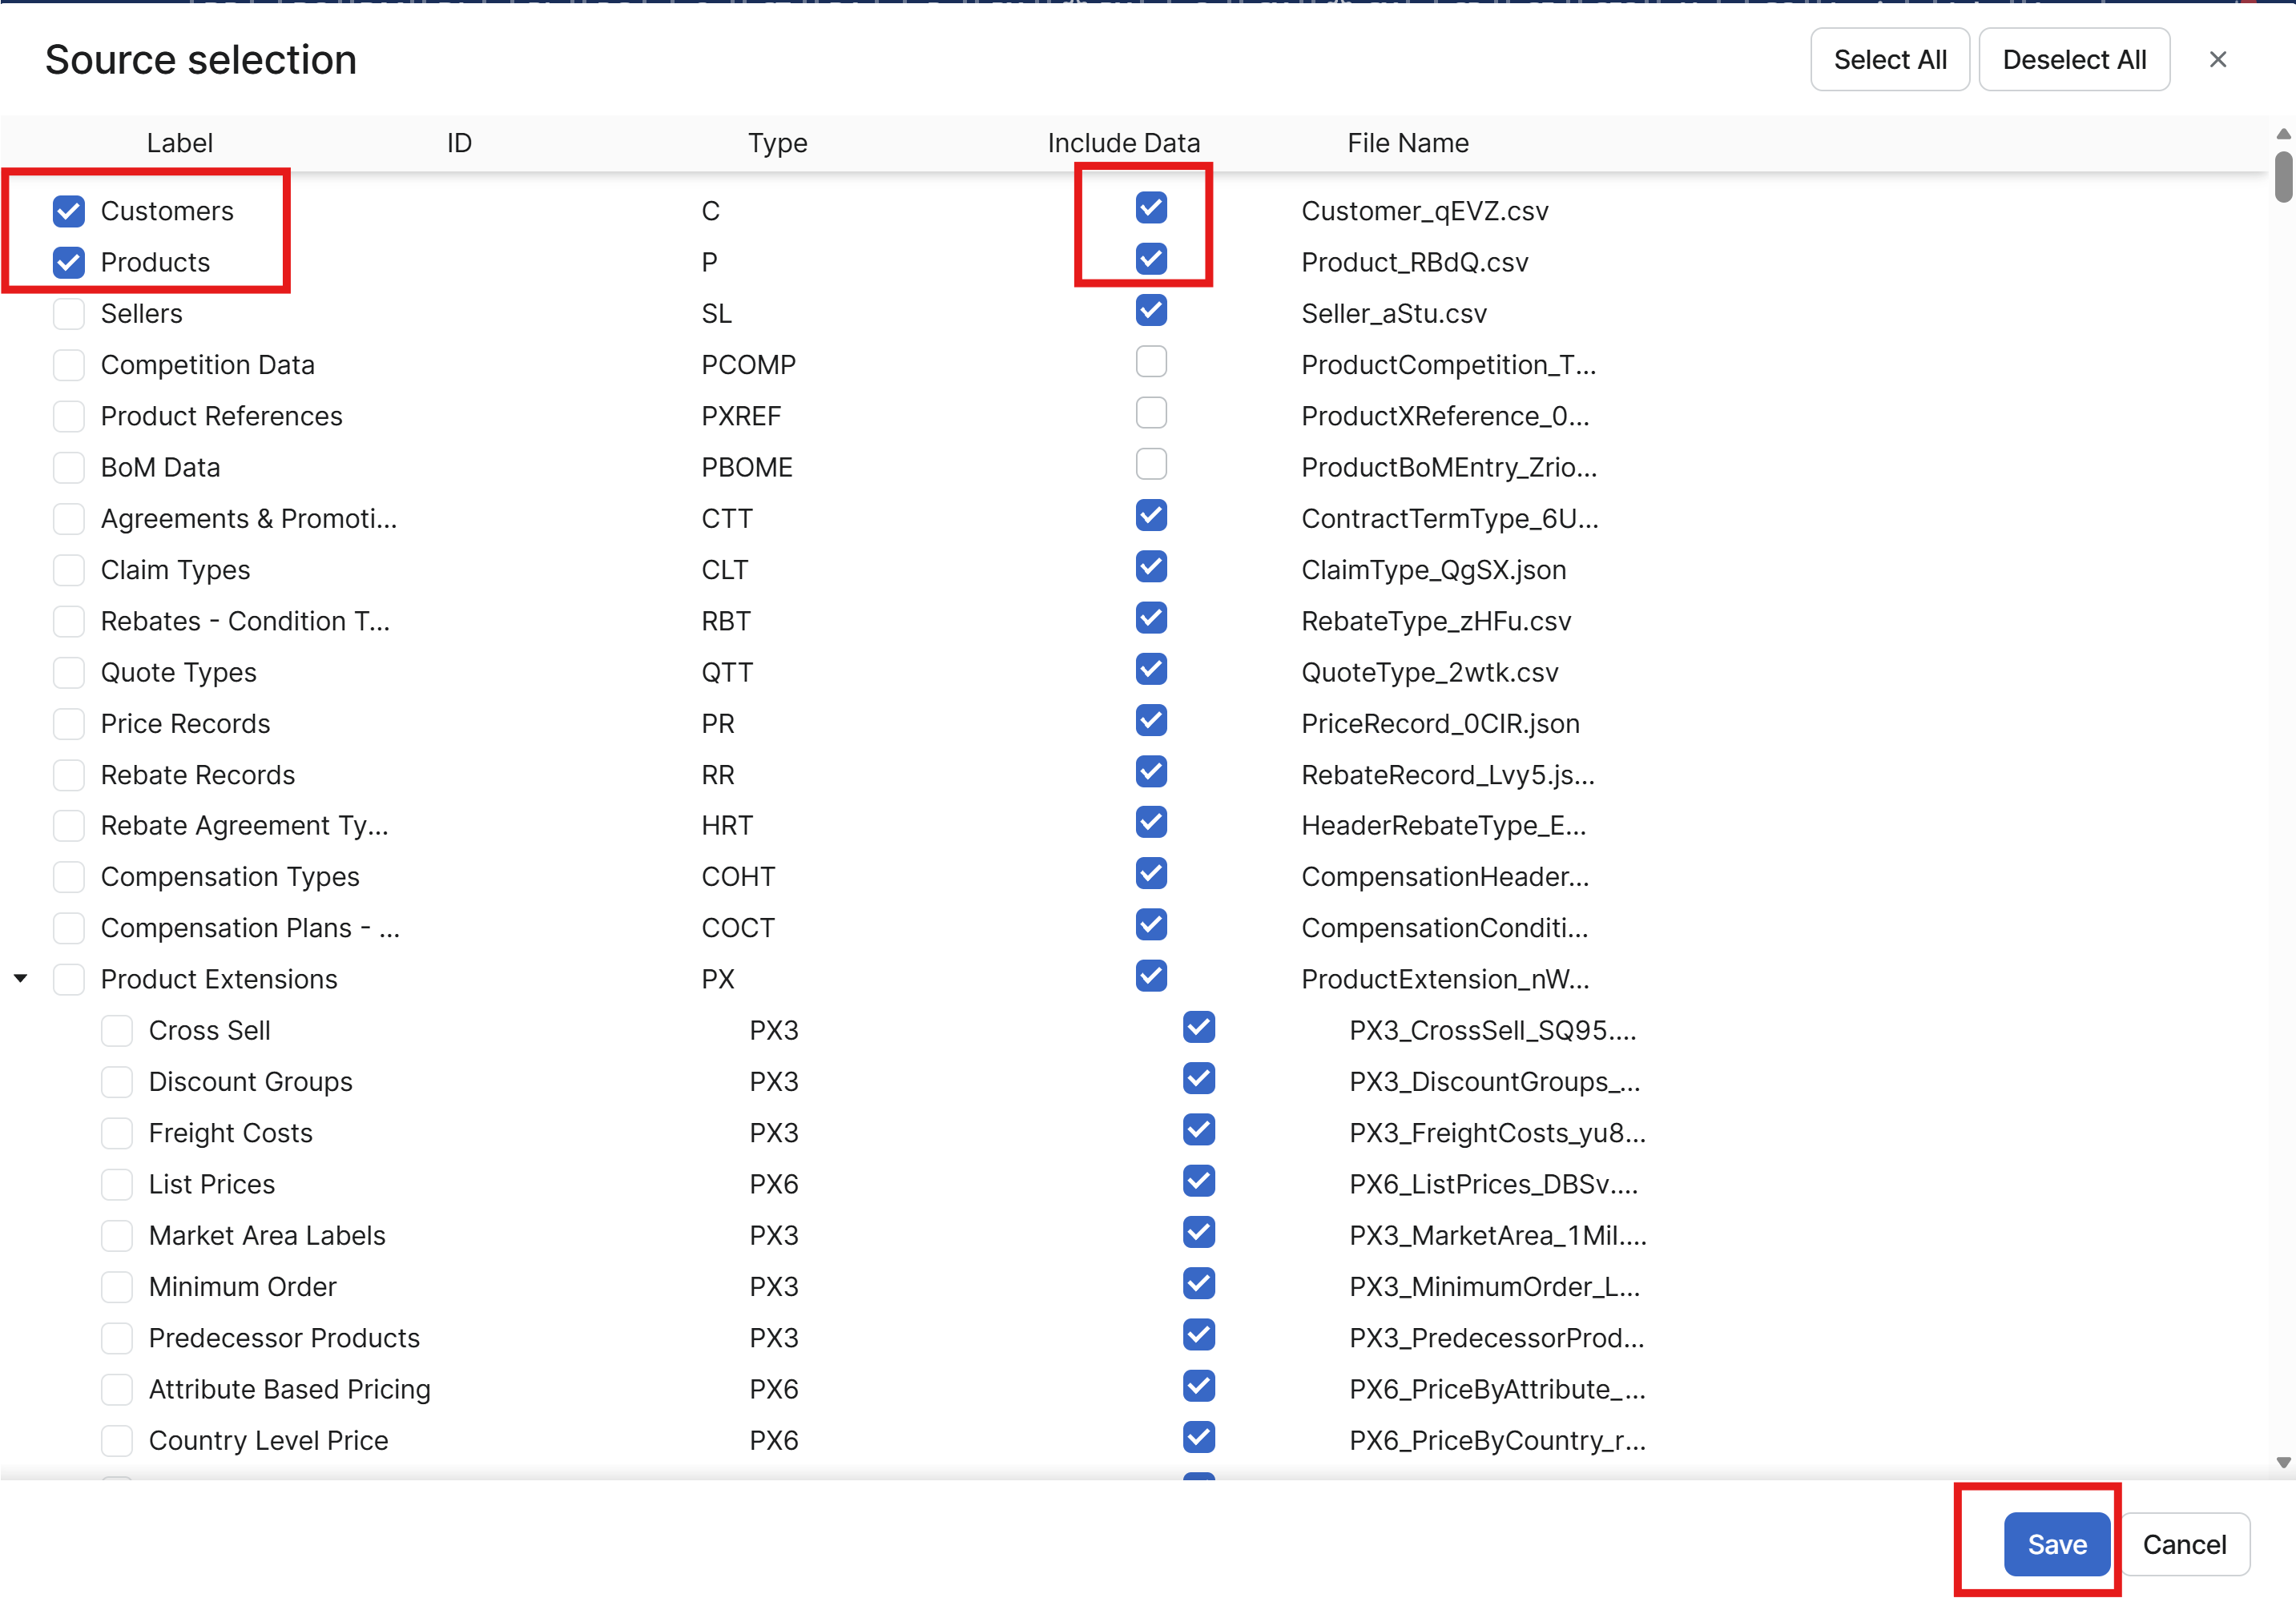
In the Source Selection window, select what sources should be exported.
Notes:-
The Label column tells you what object structure will be exported.
-
The Include Data check-box determines if the actual data will be exported.
-
The sources named DMDataxxx represent PA data (e.g., transactions). If these sources are selected, the export may take a very long time and the resulting file will be huge. It is not mandatory to have these items selected. If you don't need this data, make sure the check-boxes are not checked.
-
Note what fields are selected – later in Step 15 the same fields must be checked/unchecked, otherwise the import will fail.
-
In the example below, the ‘Customers' and ‘Products’ objects will be exported. Make sure you ‘Include Data’ and click Save.
-
-
Click Save and the Source Selection window closes.
-
Click the Start button.
-
Wait until the status of your data export changes from Pending to Ready. (Click the Refresh icon to update the status.)
-
Click the Download button and save the resulting file locally.
-
Log in to the destination partition where you want to import the data.
-
In Administration > Configuration > Import / Export / Archiving > Data Imports.
-
Click the New Import button, then click Import. Browse for your downloaded file and confirm. The upload starts.
-
Set a label for your Data Import.
-
On the Data Imports sub-tab, select your data import item (which just got created by the upload) and click the Configure icon.
-
In the Source Selection window, select what sources and data should be imported.
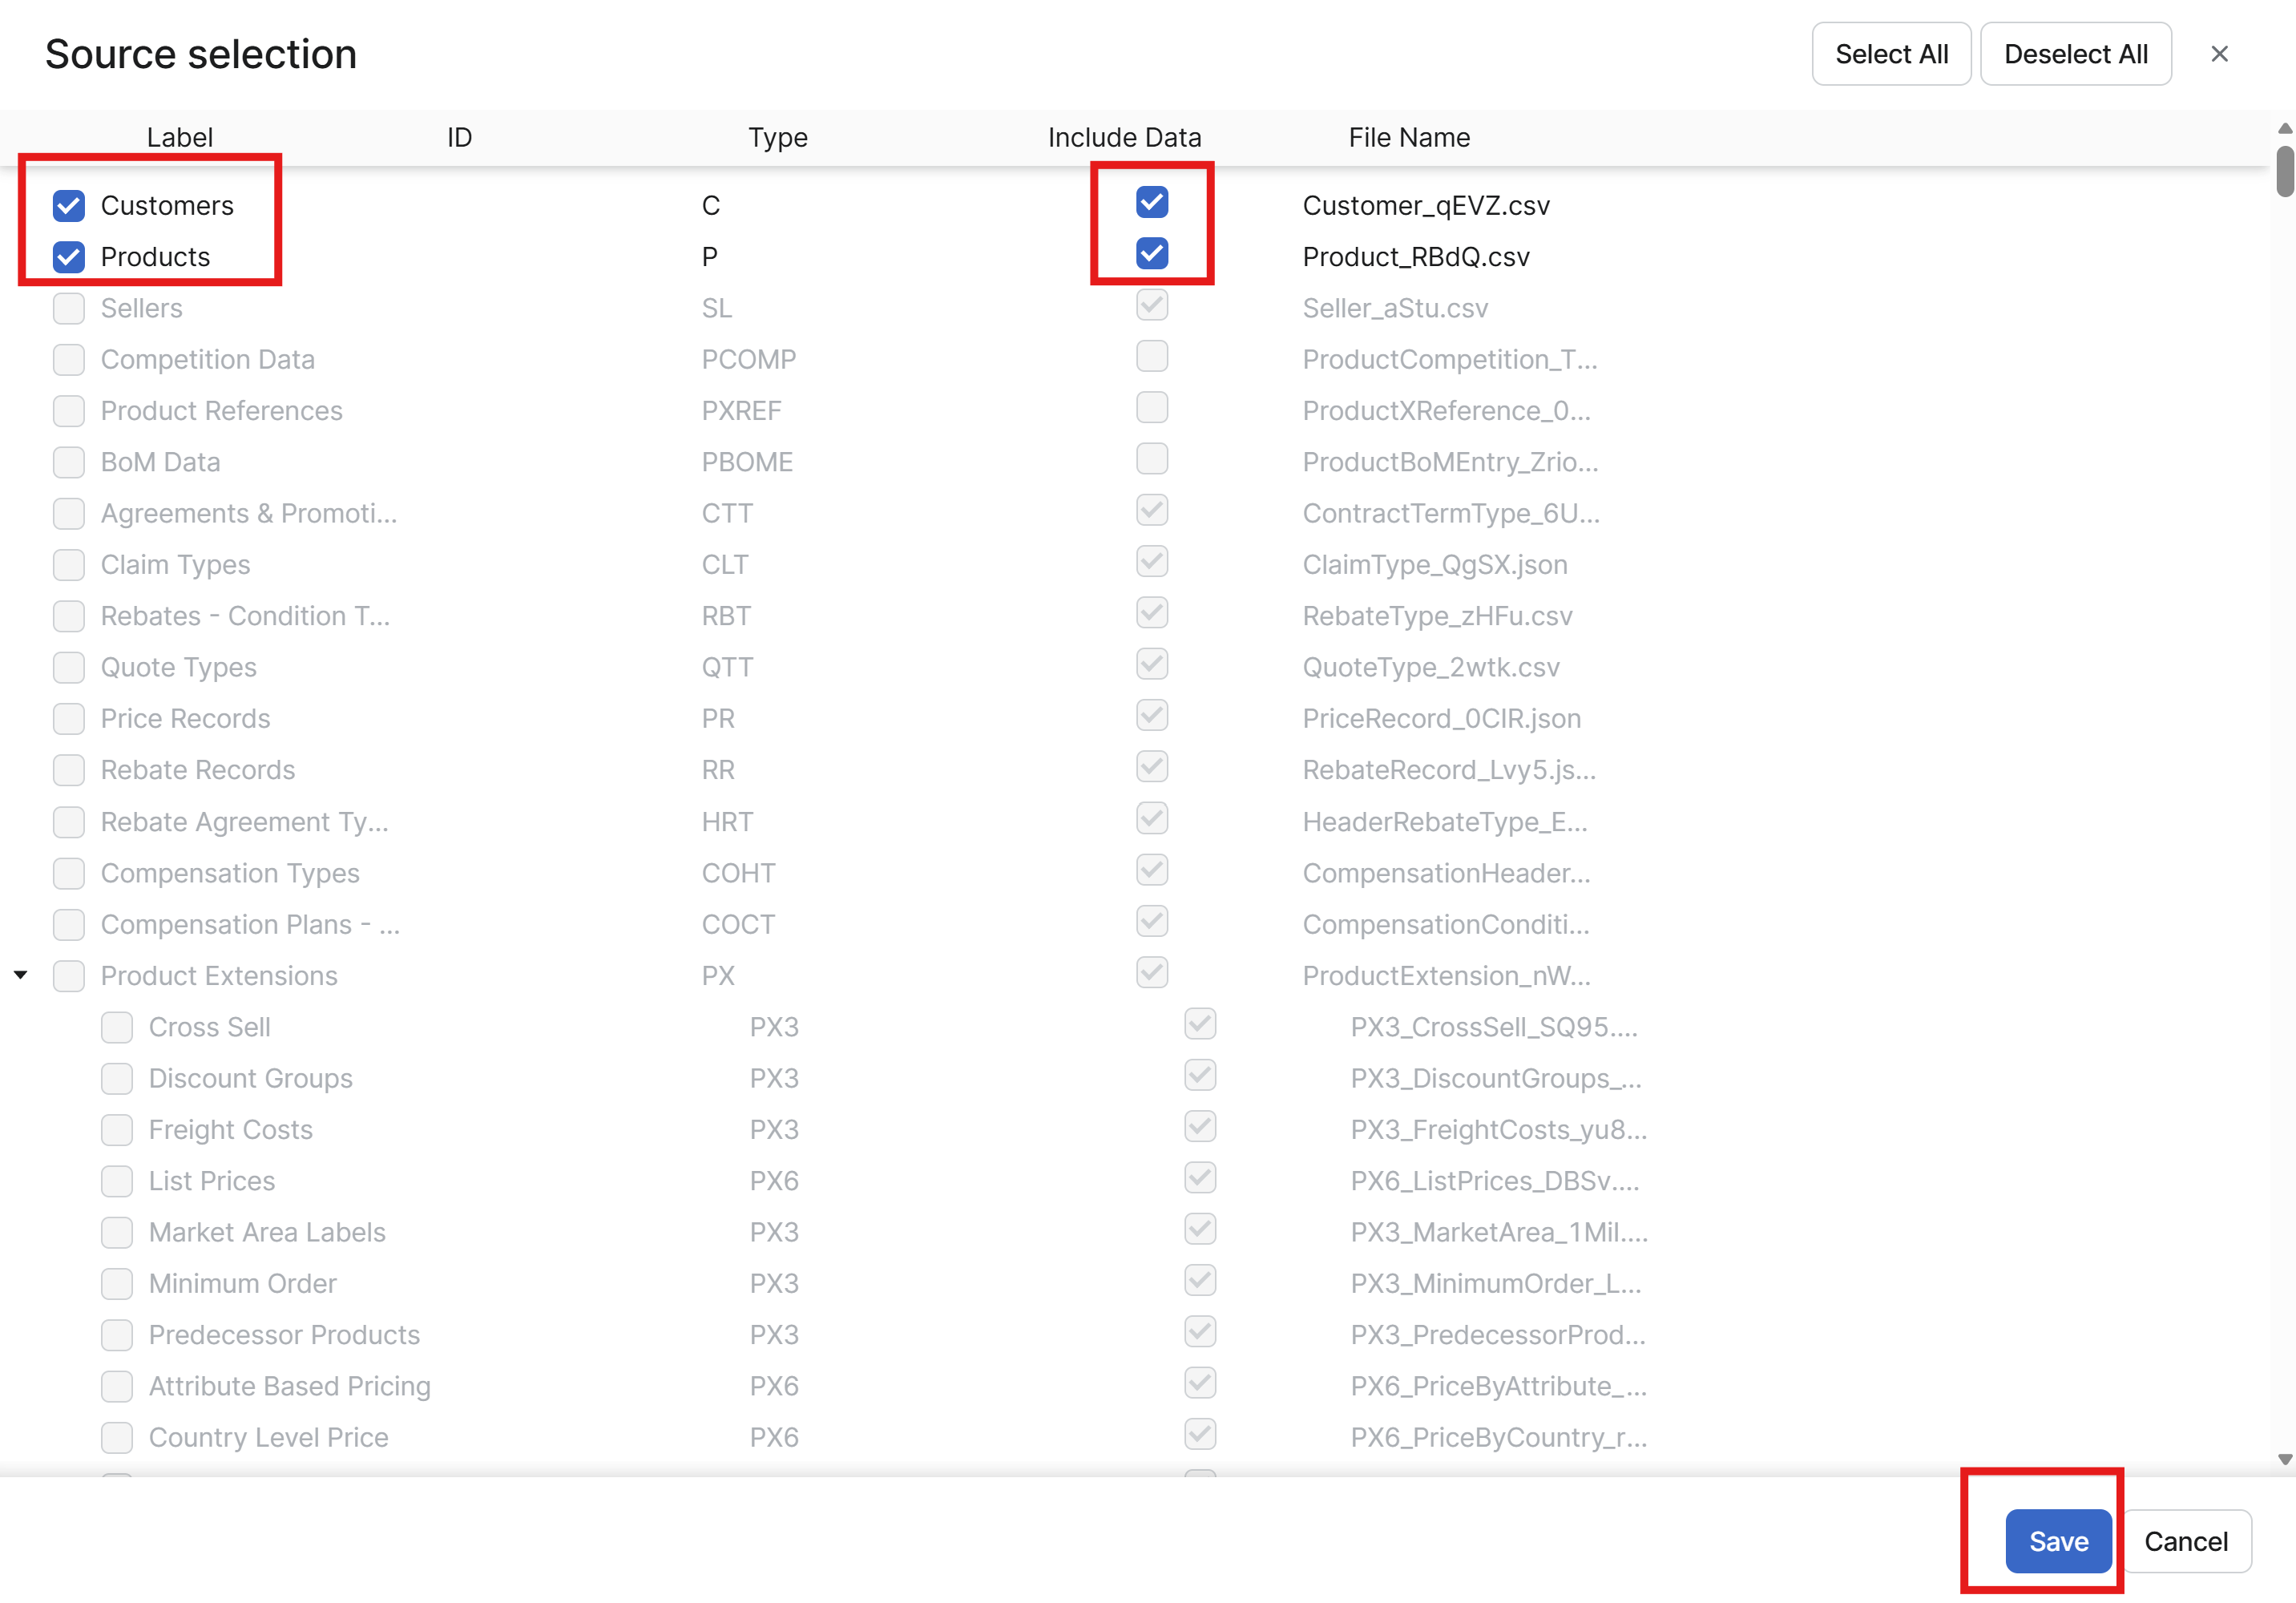
Make sure the same fields are checked/unchecked as during export in Step 5, otherwise the import will fail.
-
Click Save and the Source Selection window closes.
-
Click the Start icon.
-
Wait until the status of your data import changes from Pending to Ready. (Click the Refresh icon to update the status.