This tutorial will guide you through the installation of the Sales Insights Accelerator.
Prerequisites
-
Common prerequisites for all accelerators
-
Specific prerequisites
-
License on the partition must cover the Analytics and Dashboards modules
-
Transaction data in the Datamart structure with required fields. For details see Mandatory Data (Sales Insights).
-
Optional Transaction data (mandatory for specific dashboards, such as Period Over Period or Regional Revenue and Margin). For details see Mandatory Data (Sales Insights).
-
For additional waterfall fields see Waterfall Dashboard - Advanced Configuration.
-
Installation Steps
Select Partition for Deployment
-
Go to PlatformManager at https://platform.pricefx.com/ and log in.
-
Go to Marketplace and find the Sales Insights package.
-
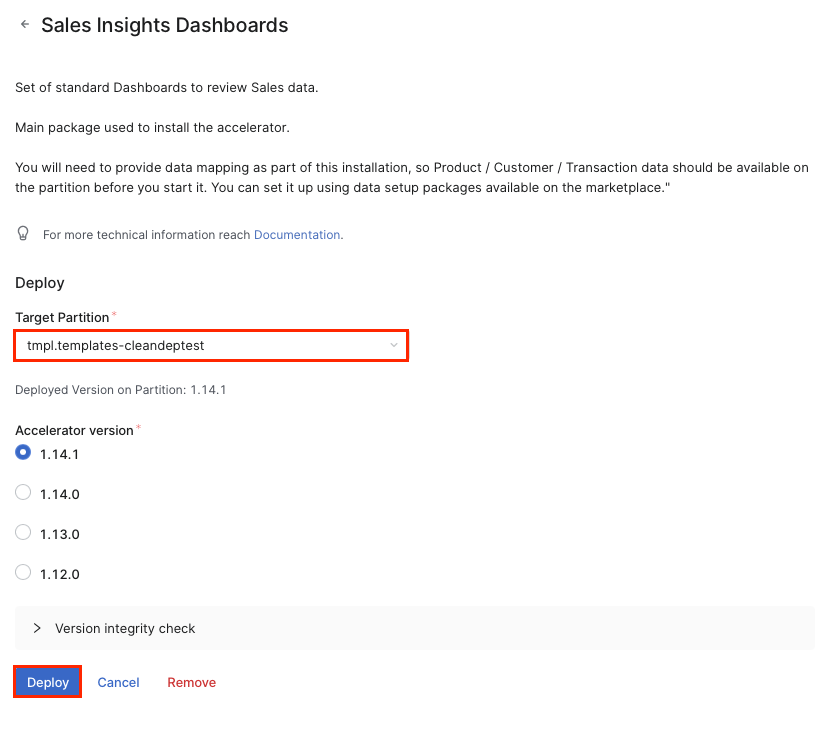
Sales Insights Dashboards – Set of standard Dashboards to review Sales data. Main package used to install the accelerator.
-
Sales Insights Upgrade – Upgrade package of any Sales Insights package.
-
-
Click the package tile, select the partition where you want to deploy the accelerator package and confirm the deployment dialog to start.
For detailed description of all deployment options, see PlatformManager documentation.
Data Setup Packages Deployment Steps
It is a prerequisite to have supporting data for Product, Customer, and Transaction on the partition prior to deploying the Sales Insights Dashboards package. The following packages related to data setup should be deployed before deploying the Sales Insights package. Alternatively, this setup can be accomplished through other methods such as integration or manual imports into the partition.
-
Initial Standard Transaction Data Setup Installation (Sales Insights)
-
Initial CCY/UOM/CAL Data Setup Installation (Sales Insights)
Sales Insights Dashboards Deployment Steps
Set of standard Dashboards to review Sales data. Main package used to install the accelerator.
-
Navigate to Marketplace in the PlatformManager.
-
Locate the Sales Insights Dashboards package.
-
Click the accelerator package tile, select the partition where you want to deploy the package and confirm the deployment dialog to start.
-
In the Accelerator Deploy dialog click Continue.
-
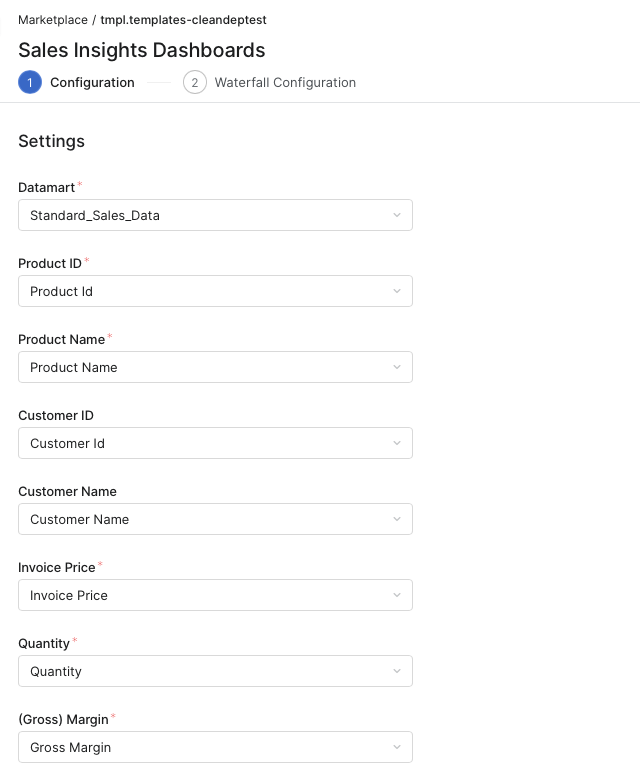
Configuration Tab.
The Sales Insights Dashboard requires certain data fields available in the Datamart. In this step you will select which fields of your Datamart contain certain specific pieces of data, e.g. product ID, customer ID, invoice price, etc. required by the dashboards.Some of the data values are required, some of them are optional, and some are used only in specific dashboards.
In case you skipped the Customer Master step, please do not map the Customer ID and Customer Name field in this step. You also should have the Region, Country, City field in your Datamart if you want to use the Regional Revenue and Margin dashboard.
-
When you are finished with the configuration click Continue.
-
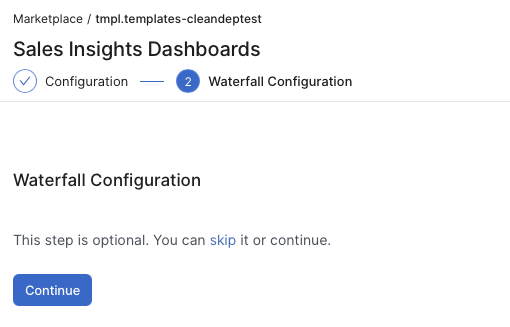
Waterfall Configuration (Optional)
|
Option |
Description |
|---|---|
|
Continue |
Click this button if you want to map the waterfall configuration. |
|
Skip |
Click this link if you do not want to map the waterfall configuration. In this case, the Waterfall and Comparison Waterfall dashboard will show no data after the deployment. |
-
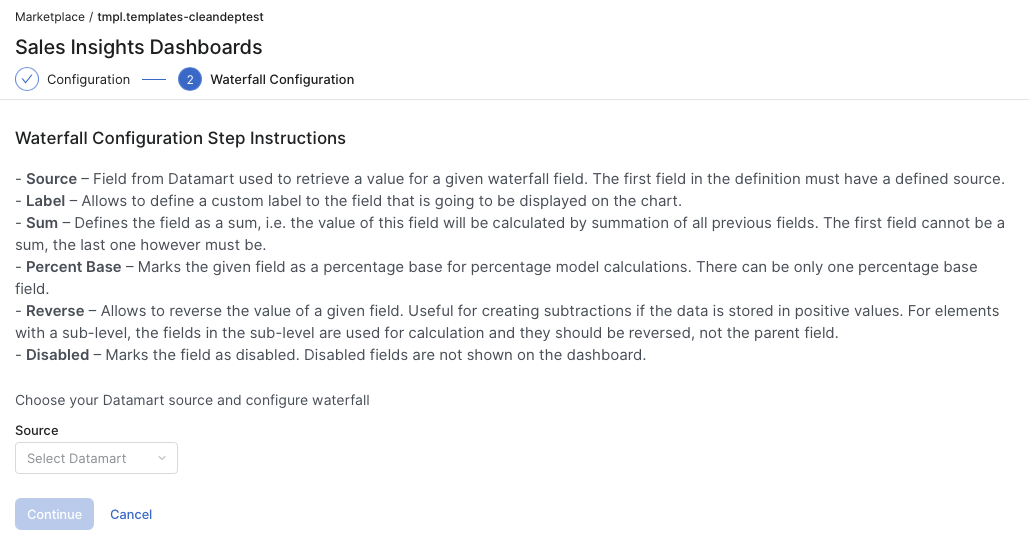
Map the waterfall configuration.
-
Click Continue to configure the price waterfall elements to be used in the Waterfall dashboard.
-
Select the Datamart to be used for the Waterfall dashboard.
-
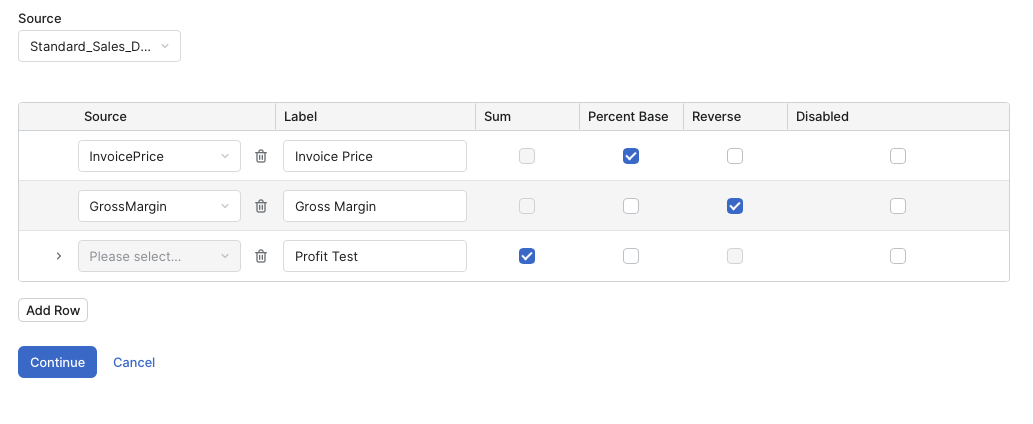
Once you selected the Datamart, the fields will appear. They are automatically pre-populated to guide you. Review the sample waterfall configuration, review your Datamart fields, and then continue with the next step.
-
Set up the waterfall chart elements according to your Datamart fields.
-
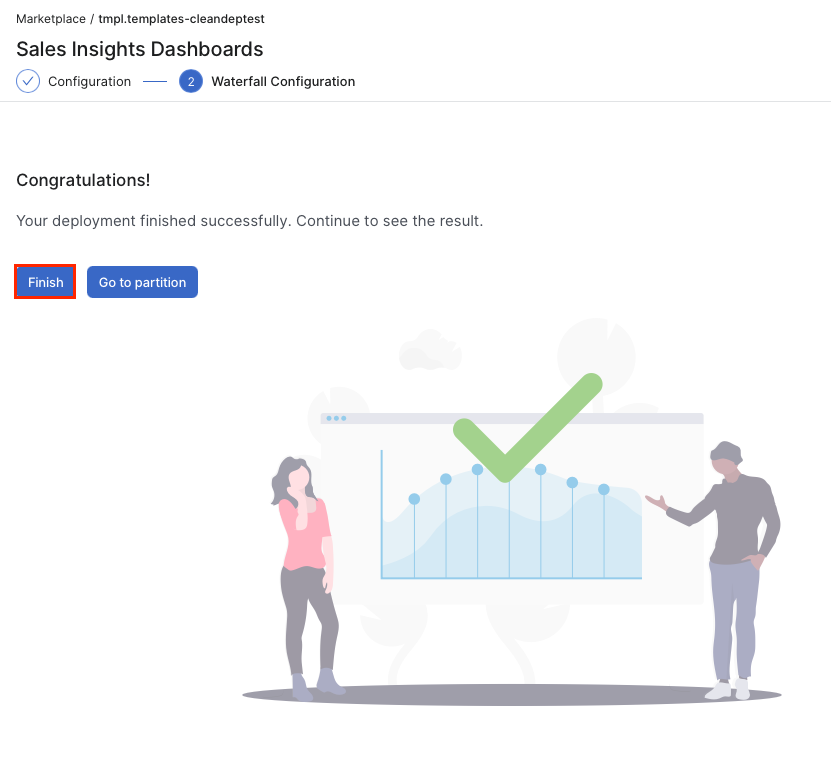
Once all waterfall chart elements are defined, click Continue. This process takes around a minute to finish.
-
On the final screen click Finish.
If you want to update/change the mapping, you can do it manually in Configuration > System Configuration > Advanced Configuration Options, under the option waterfall-configuration.
Sample of waterfall-configuration:
{
    "waterfall-configuration": {
        "dataMart": "Standard_Sales_Data",
        "fields": [{
                "name": "GlobalListPrice",
                "label": "Global List Price",
                "isSum": false,
                "isPercentBase": true,
                "disabled": false,
                "isSubtract": false
            }, {
                "name": null,
                "label": "Local Adjustments",
                "isSum": false,
                "isPercentBase": false,
                "disabled": false,
                "isSubtract": false,
                "subLevel": [{
                        "name": "ForeignExchangeAdjustment",
                        "label": "Foreign Exchange Adjustment",
                        "disabled": false,
                        "isSubtract": true
                    }, {
                        "name": "LocalAdjustment",
                        "label": "Local Adjustment",
                        "disabled": false,
                        "isSubtract": true
                    }
                ]
            }, {
                "name": null,
                "label": "Local List Price",
                "isSum": true,
                "isPercentBase": false,
                "disabled": false,
                "isSubtract": false
            }, {
                "name": null,
                "label": "On-Invoice Discounts",