We will need to perform the upload itself using an FTP client. Using this FTP client, we will push the actual CSV file onto the Integration Manager instance.
-
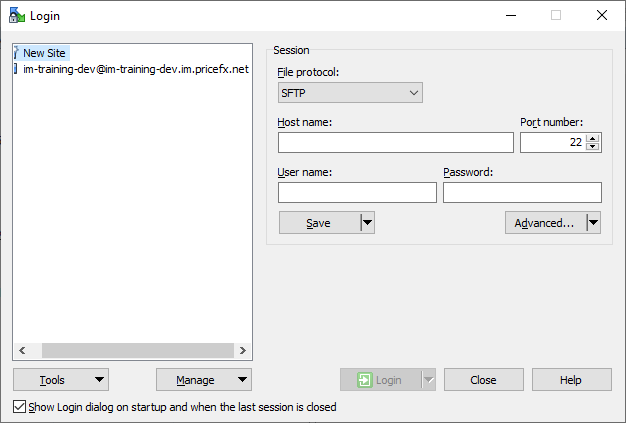
Start the WinSCP FTP client and define a new FTP session using IM instance provided earlier when it was created:
-
Make sure the protocol type is set to SFTP.
-
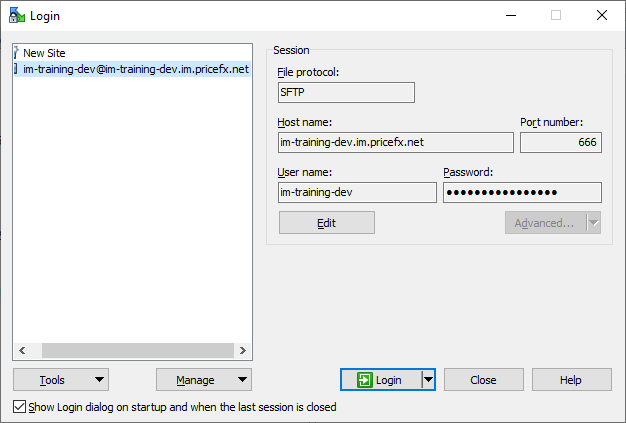
Then, use the host name, port number, user name and password provided in your IM activation email and update the Login panel.
-
Click Login button.
-
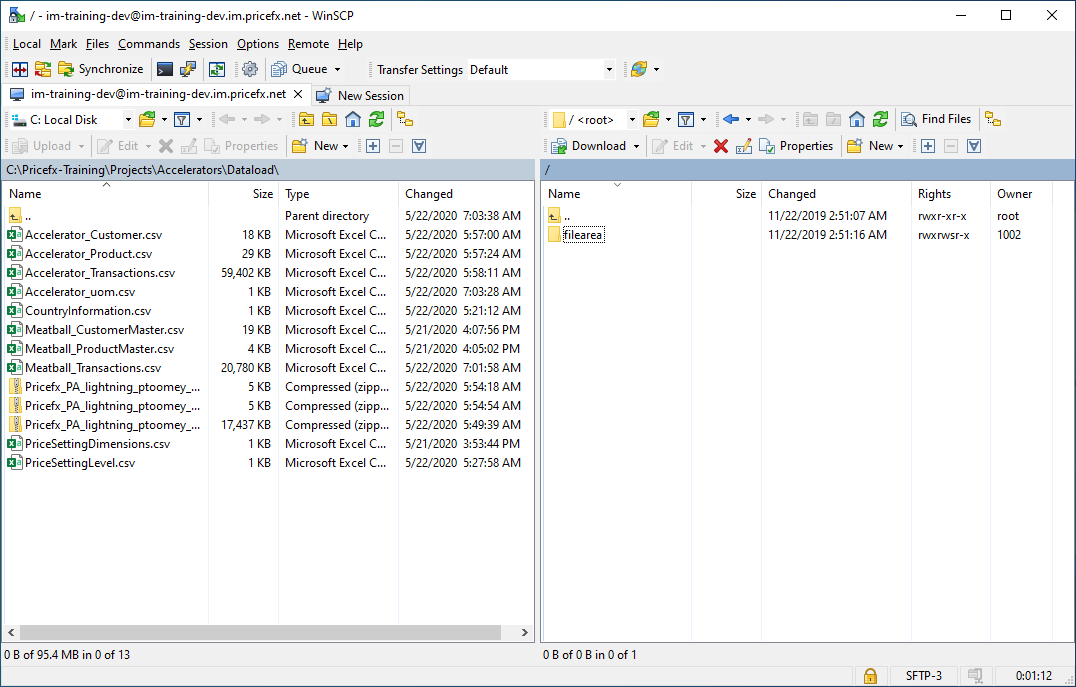
Connection should be successful:
-
Upon successful connection it should open FTP server path:
-
On the left-side, we will need to locate the path to the Product Master CSV file that you wish to upload:
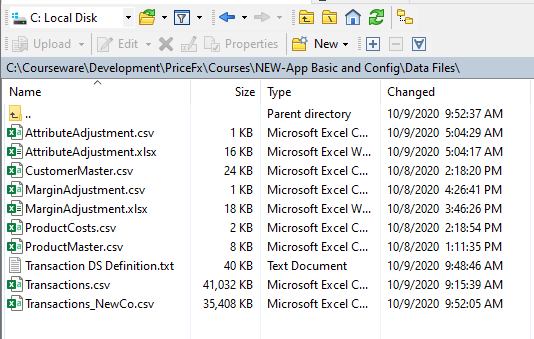
NOTE: In this example I have positioned myself on a directory path on my C drive where all the CSV files for uploading are located.
-
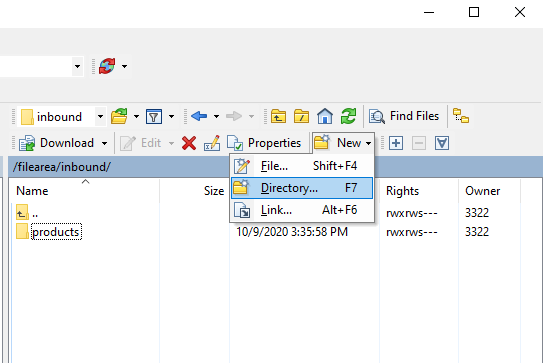
Next, on the right-hand side is the FTP target path. We will need to drill down to /filearea/inbound/ path.
-
Then, click on the New option and choose the Directory option:
-
Define the directory name as products:
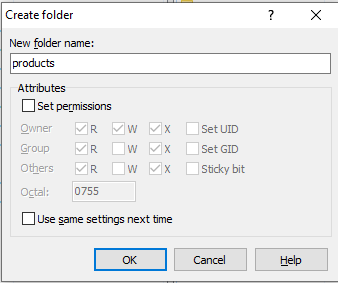
NOTE: With the addition of the products directory, the file path will match the FTP path that was defined during the creation of CSV FTP integration template process.
-
Drill down to the products folder:

-
Next, we will upload our Product Master CSV file to this folder.
-
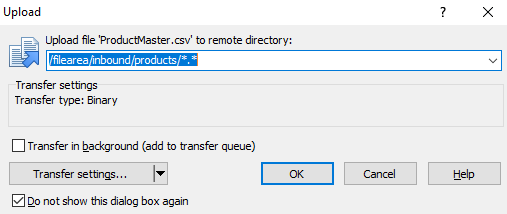
As soon as it appears, then the FTP process will be initiated, and the uploaded data will be visible in our partition. Drag and drop ProductMaster.csv file.
-
If using WinSCP it will appear as:
-
Click OK button.
-
File upload should be processed in 10-15 seconds.
-
Return to your partition and verify that Product Master has been loaded successfully.