In this step, we will be creating our IntegrationManager Instance to use in conjunction with our Integration Templates for data integration.
Create IntegrationManager Instance
-
Login into PlatformManager.
-
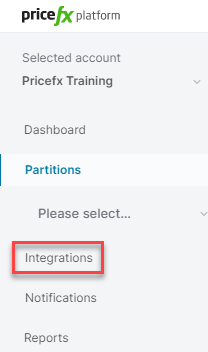
Within PlatformManager, select the Integrations option on left-hand side navigation:
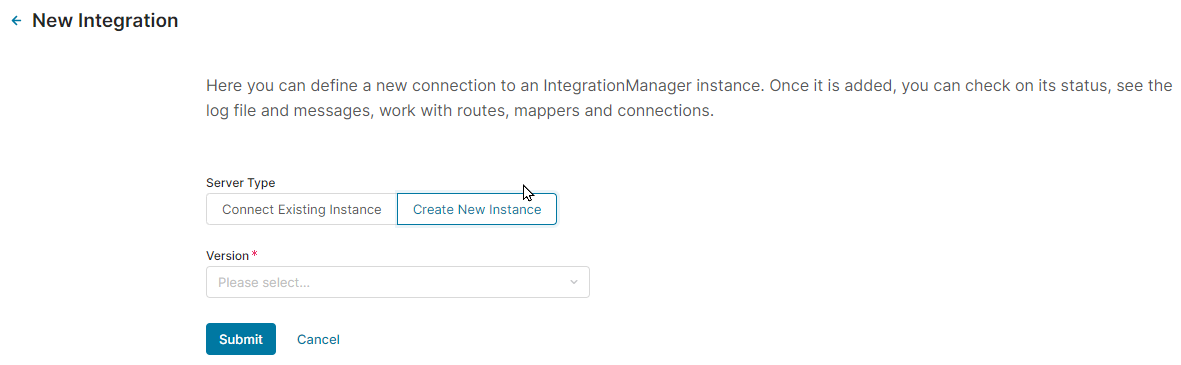
3. Next, we need to create a new IntegrationManager instance. Click on the New IntegrationManager button and then choose the Create New Instance option:
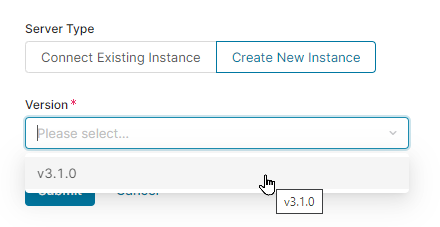
Choose the most recent version:
5. Set the Integration Name to the same name as our partition (ie. training-cie-00007):
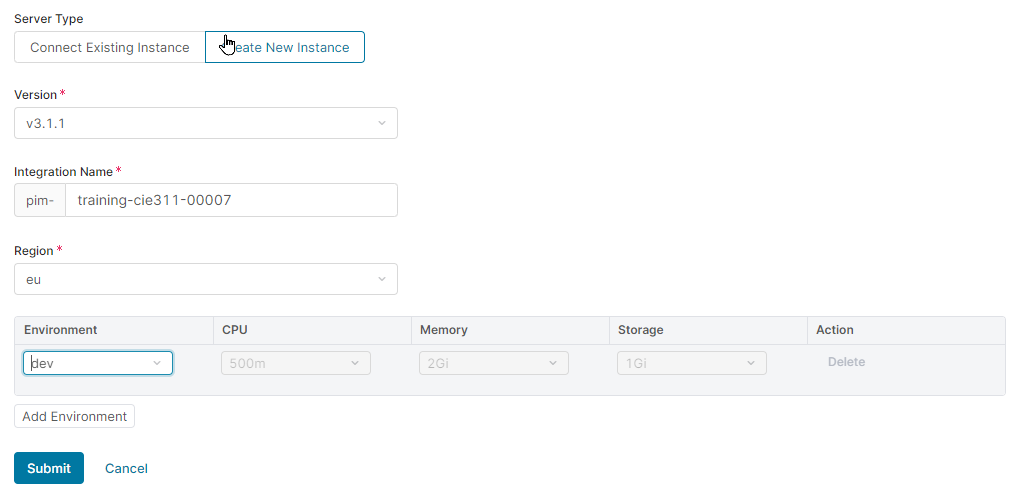
6. Click on the Add Environment button to create a qa version too.
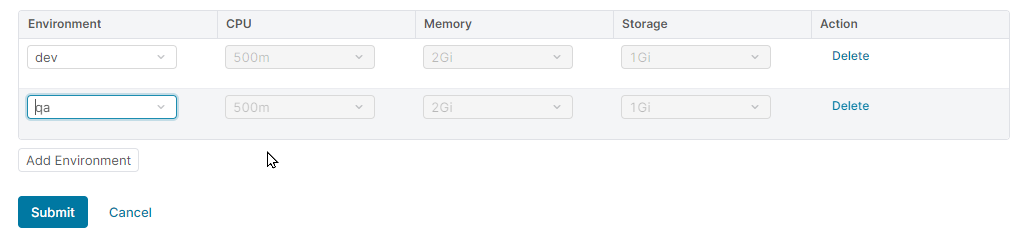
Click Submit button. Upon submission, you will be able to see your new Integration instances on the Integrations panel, but they will not be accessible:

NOTE: When the integration instance is created, the Git repository linked to the instance will be automatically created as well.
6. As part of the creation process for the integration instance, you will receive an email concerning the connection to the SFTP server:
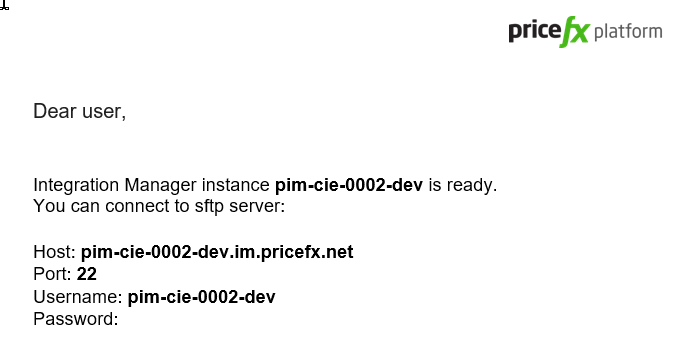
NOTE: In this version of PlatformManager, all IntegrationManager instances will automatically have a companion SFTP server built too.
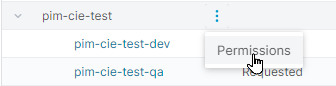
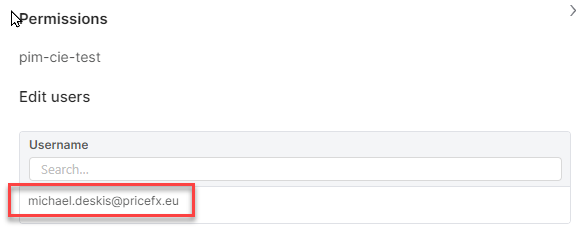
7. Next, we need to set up the Git access and permissions for our instance. On the Integrations panel, select your instance name, click on it to display the Permissions option:
The permissions panel will appear:
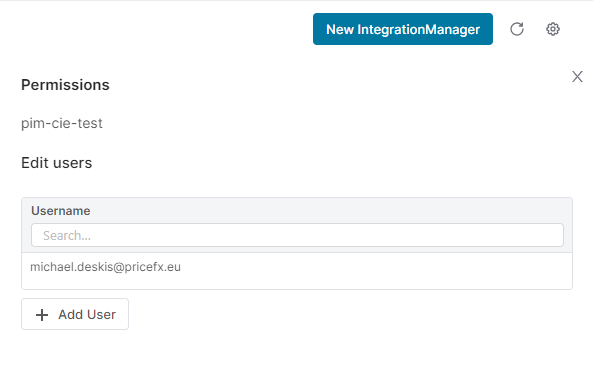
8. Click on the Add User option and then select yourself from the list and click Add button. You should now see yourself on the list of users:
Click Save Changes button.