IMPORTANT: If you have already created a connection for this SFTP, then you can skip these steps.
Before we can begin to create data migrations using the integration templates within PlatformManager, we will need to create the connection to our SFTP server.
Create SFTP Connection
-
Upon creation of the IntegrationManager instance, we would have received an email confirming access to our SFTP server:
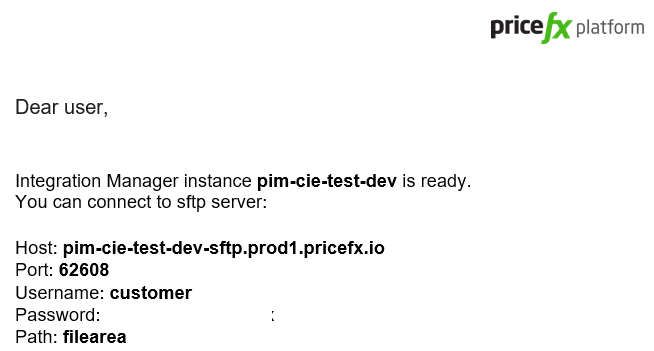
2. We will use this information to create our connection. After selecting our Integration instance, click on the
Connections option:

3. To create our connection, click on the New Connection button.
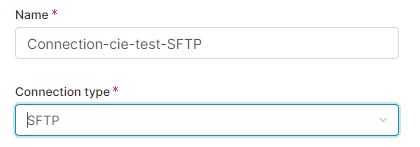
Choose the SFTP connection type from the list and name the connection something meaningful to you.
Best Practice: Be sure to incorporate some important attributes into your naming convention to provide pertinent meaning (ie. connection type, table type, etc).
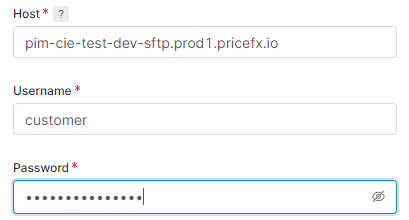
4. Add the access information from the email for our SFTP server:
5. Next, we define the file path. Since this connection will be for uploading Customer extension data we will define it as:
/filearea/inbound
6. Finally, we add the Port from the SFTP email:
NOTE: Your port address may be different than the value shown here, review the SFTP email to be sure you use the correct value.
-
Click Test Connection button.
-
Click Save & Deploy button.