Overview
Visual Filtering is a user-friendly alternative to building filters. It allows filters to be created directly within the user interface, reducing complexity and improving development speed.
It uses the Advanced Filter component for filtering CLIC tables (Header detail pages). Allows setting conditions for when a filter should apply, such as based on page type or configuration settings.
Target Audience
-
Administrators
-
Integration Engineers
Prerequisites
-
Develop Interceptorsuser role is need to access the Visual Filtering (Administration > Configuration > CRM Integration > Visual Filtering)
How to Create a New Visual Filter
-
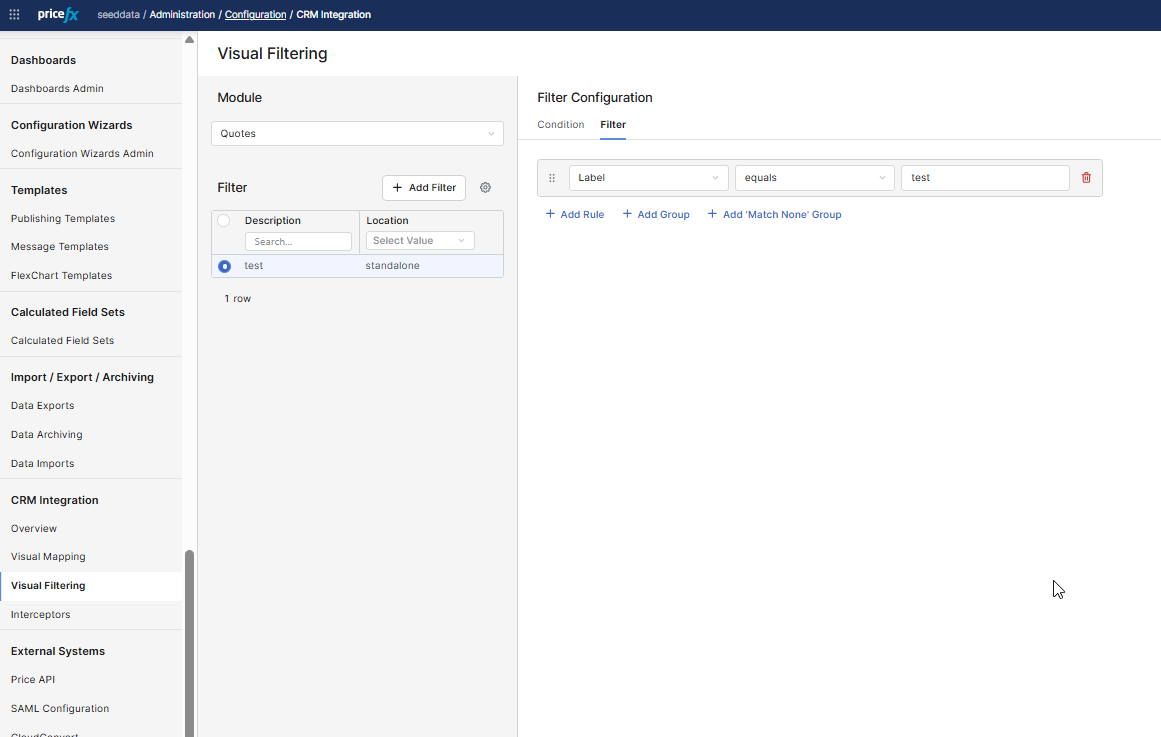
Navigate to Administration > Configuration > CRM Integration > Visual Filtering
-
From the dropdown at the top, choose the module (e.g., Quotes) where the filter will apply.
-
Click the + Add Filter button.
-
Enter details in the modal window:
-
Description: Name your filter.
-
Location: Select context like
standalone,account, oropportunity.
-
When Account or Opportunity is selected, the filter will be applied within the CRM context of the corresponding page.
Selecting Standalone applies the filter in all other contexts outside of CRM (e.g., within Pricefx directly).
-
Select the created visual filter and switch to the Condition tab.
The default setting will apply the filter unconditionally. You can enhance this to check variables like
isAccountPageor values from CRM. -
Go to the Filter tab to build filter rules. This is similar to the Advanced Filter in user interface.
-
Optionally, click the Filter Preview button to view the results after the filter has been applied.
-
Click Save.
Interceptor Override Behavior
If a filter is also defined via an Interceptor and that Interceptor returns a result, the Interceptor’s logic will override the Visual Filter.