Based on customer’s request it is possible the customer will use X-Ray for UAT phase. In that case it is good to show the customer how easy it is to use X-Ray for UAT. The following section contains instructions for preparation, create test cases, testing and monitoring of progress. Before you use it for customers, make sure that you change the customer’s logo. You can find the document in downloads under X-Ray instructions
About X-Ray
X-Ray is a Test management tool for Jira, it allows creating test cases, effective test planning and tracking test execution directly in Jira project. It is already installed in Pricefx Jira, so no special configuration is needed from Cargill team.
Preparation for UAT
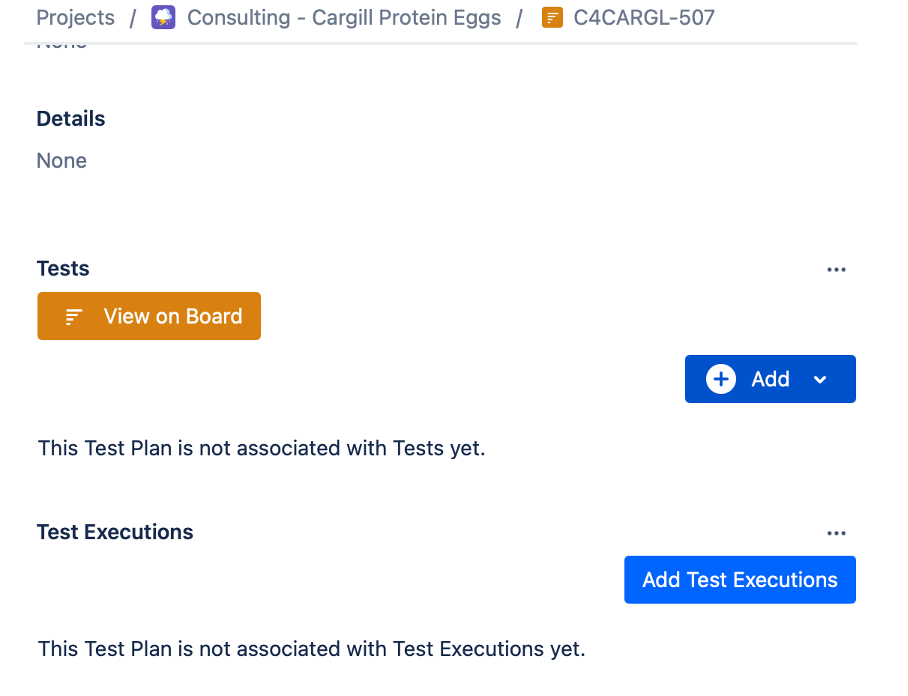
Create test plan for UAT
-
Example: see blow
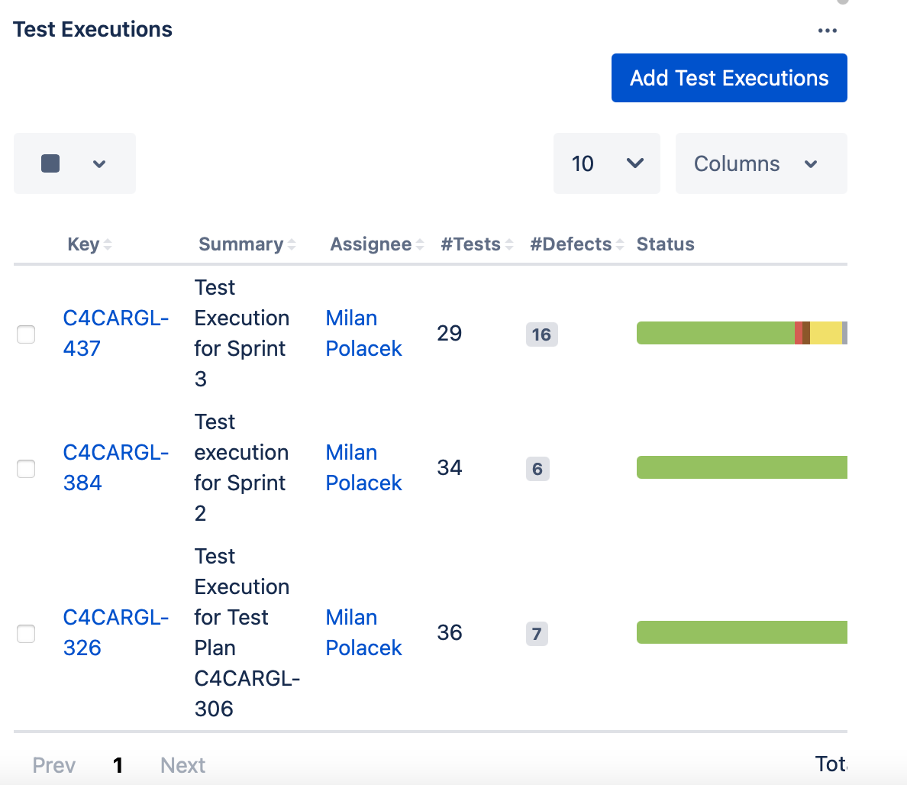
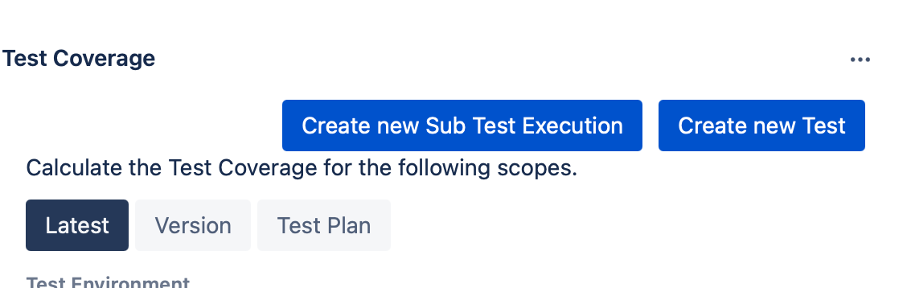
Create test executions
→ one for every tester – assign them to testers
-
Example:
Test plan for UAT
Open Test Plan and add created Test Executions to the test plan for UAT

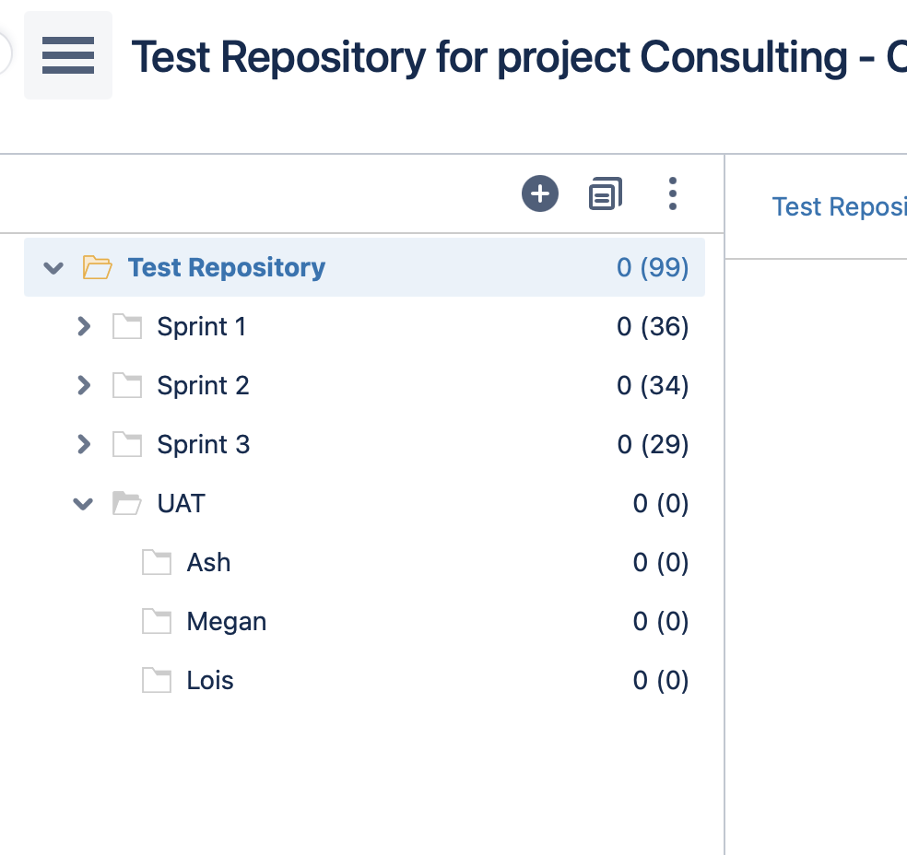
Click on Testing Board and create structure of directories in Test Repository
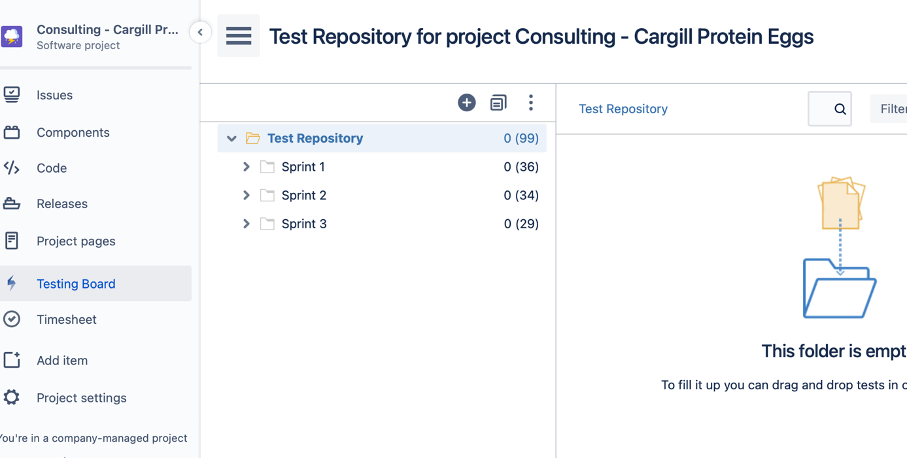
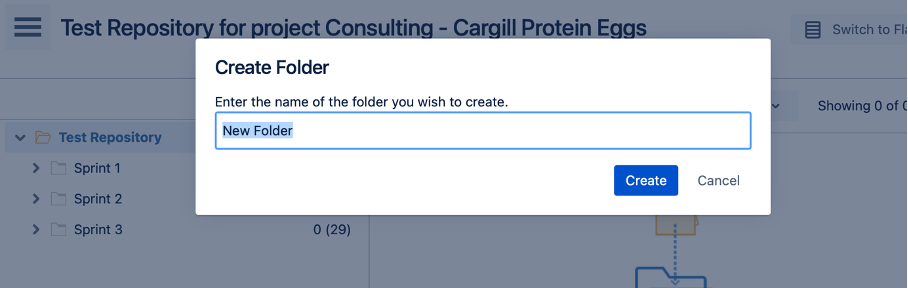
Structure for UAT could look like:
Create test cases
-
Open User Story
-
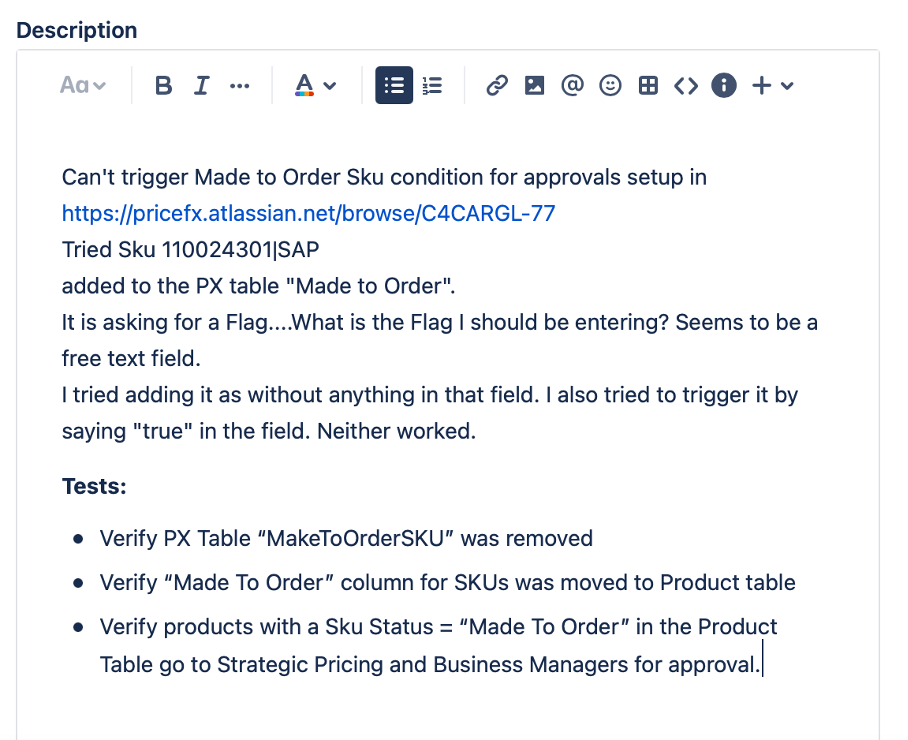
Create test case from the user story (issue type Test)
-
Write instructions to Description – good is also add UAT prefix to Summary

Tests can look like in this example:
-
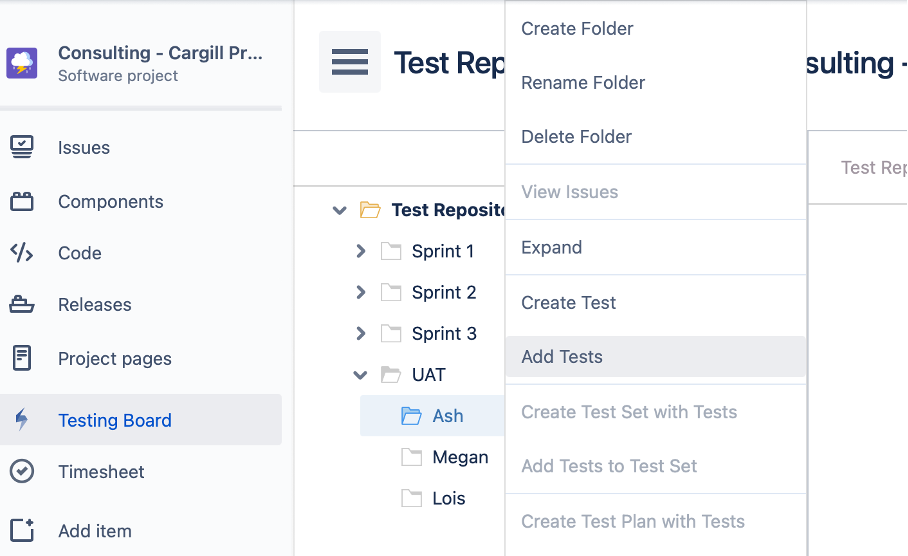
Open Testing Board and in Test Repository click on the right directory
-
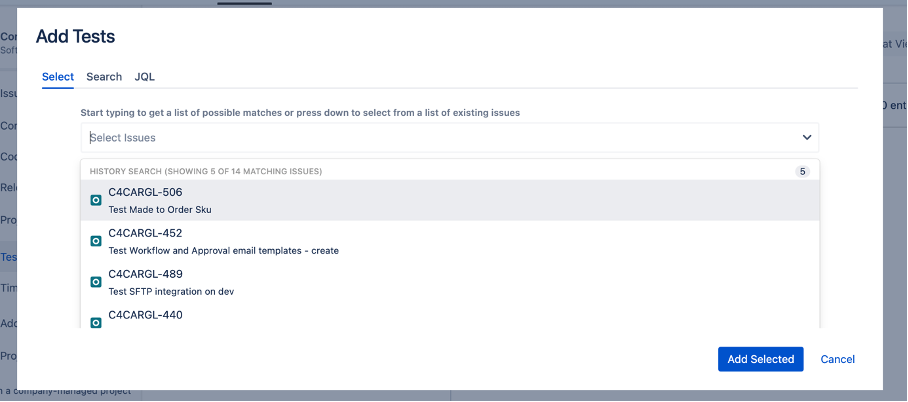
Open menu (right click) – choose Add Tests and choose created test you want to add
-
Click on UAT repository
-
Open menu (right click) – choose Add Tests to Test Plan
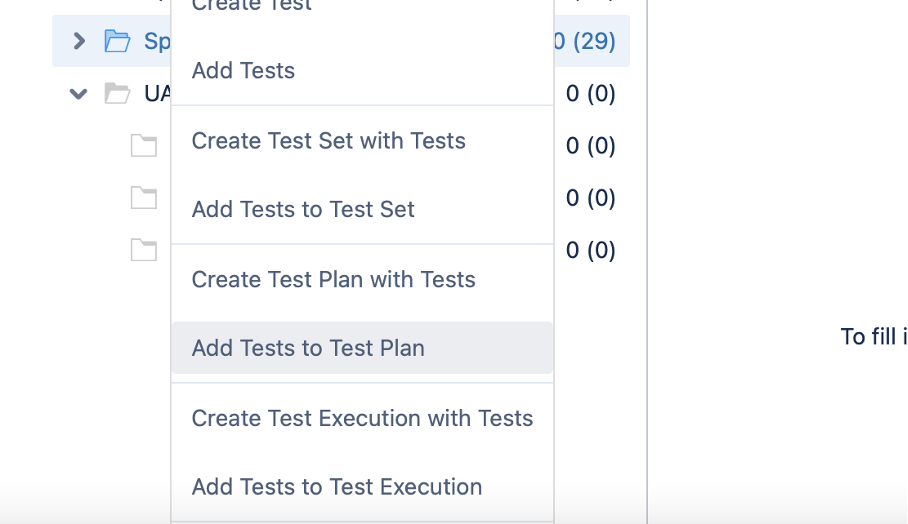
-
Click on every directory in UAT and click on Add Tests to Test Execution – always choose the right Test Execution for the right tester
Testing according to prepared test cases
-
Choose Test Execution task assigned to you
-
Scroll down and choose test case you will test from list of test cases assigned to you – click on the link on the left

-
Scroll down to Test Runs section
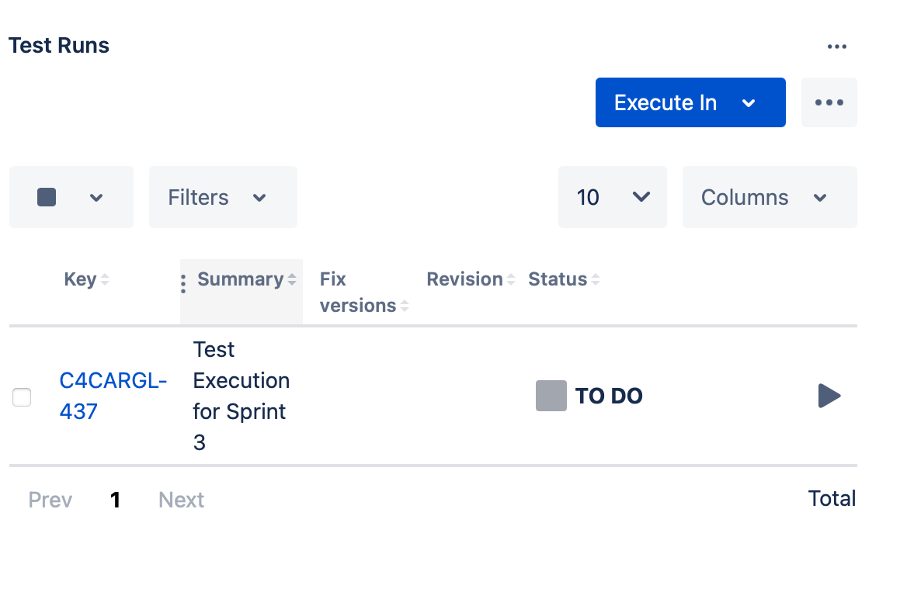
-
Click on icon on the right

-
Report test result, create a new bug if needed
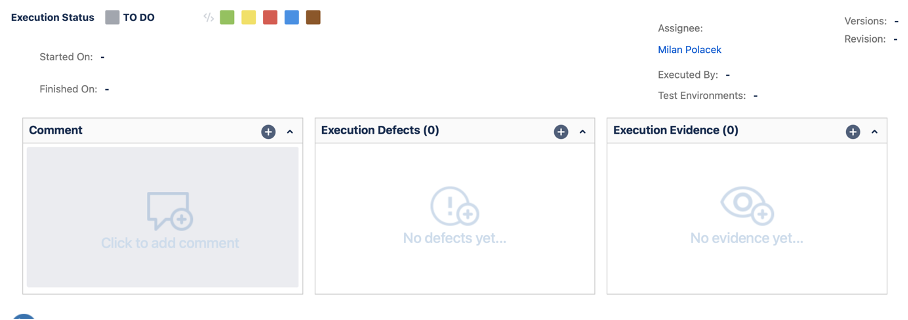
-
Mark the test as Passed or Failed

-
Choose the next test from your Test Execution – you can use buttons at the top of the form

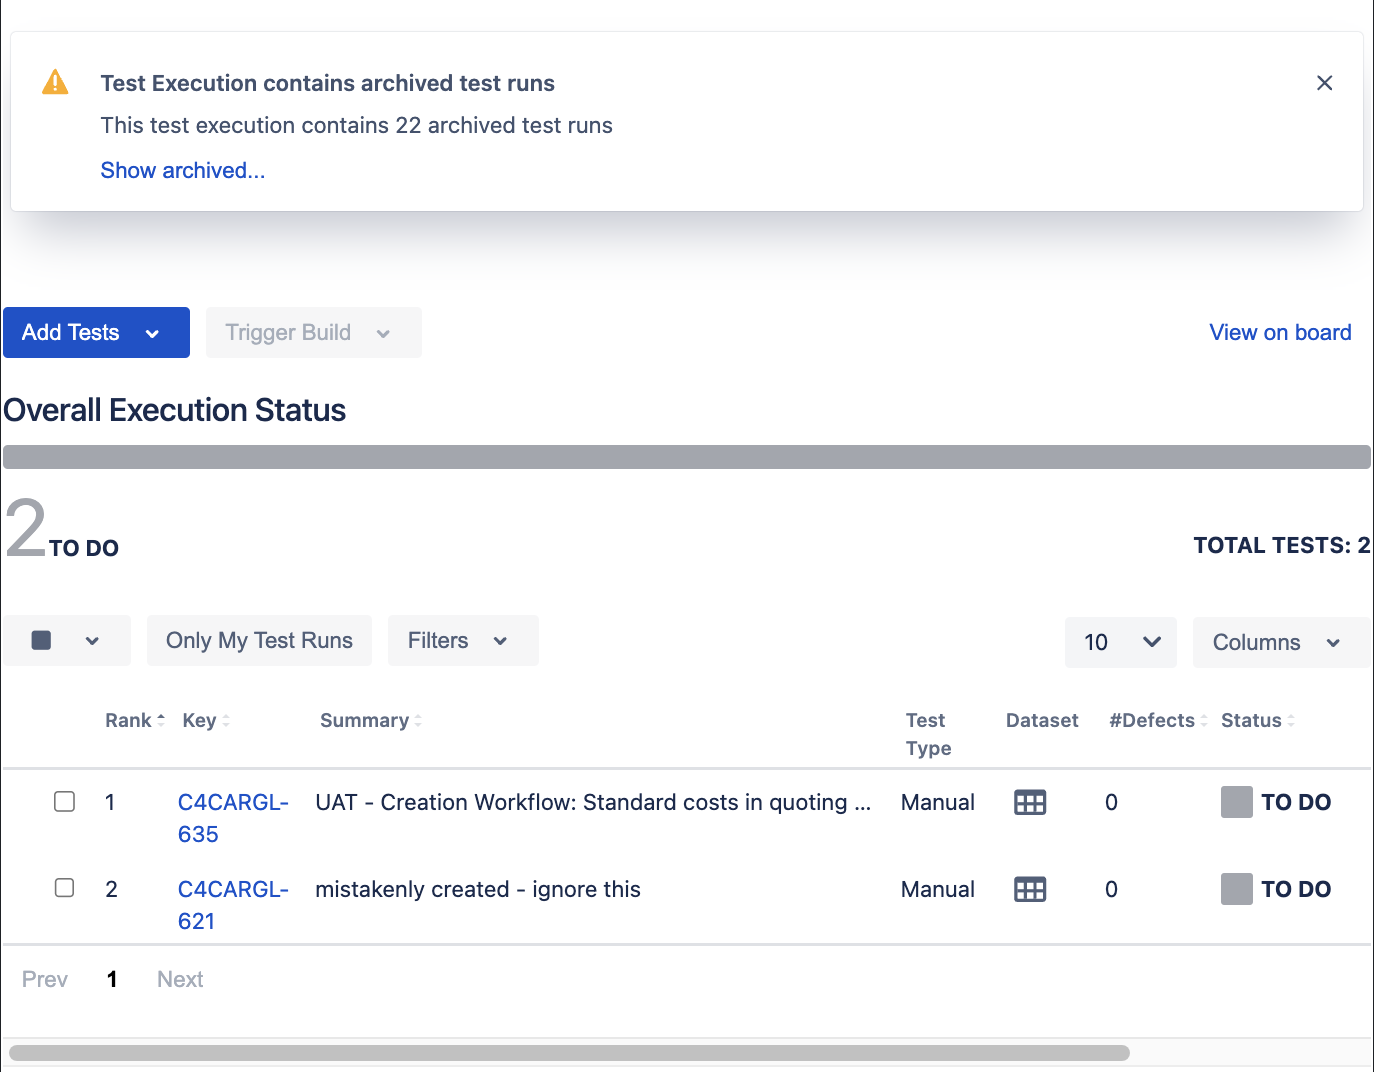
Monitoring of progress and results
-
Open Test Plan for UAT
-
Scroll down and check Overall Execution Status in the test plan – this gives you high level information about current testing status
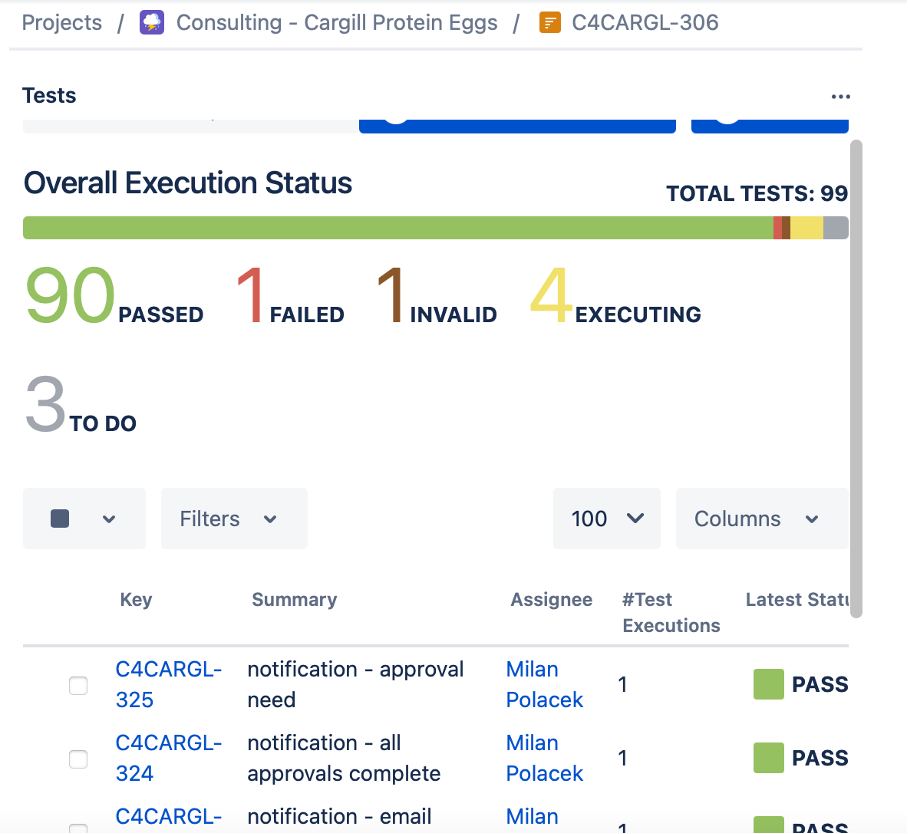
-
Check Test Executions for testers and evaluate current results – below Overall Status