
-
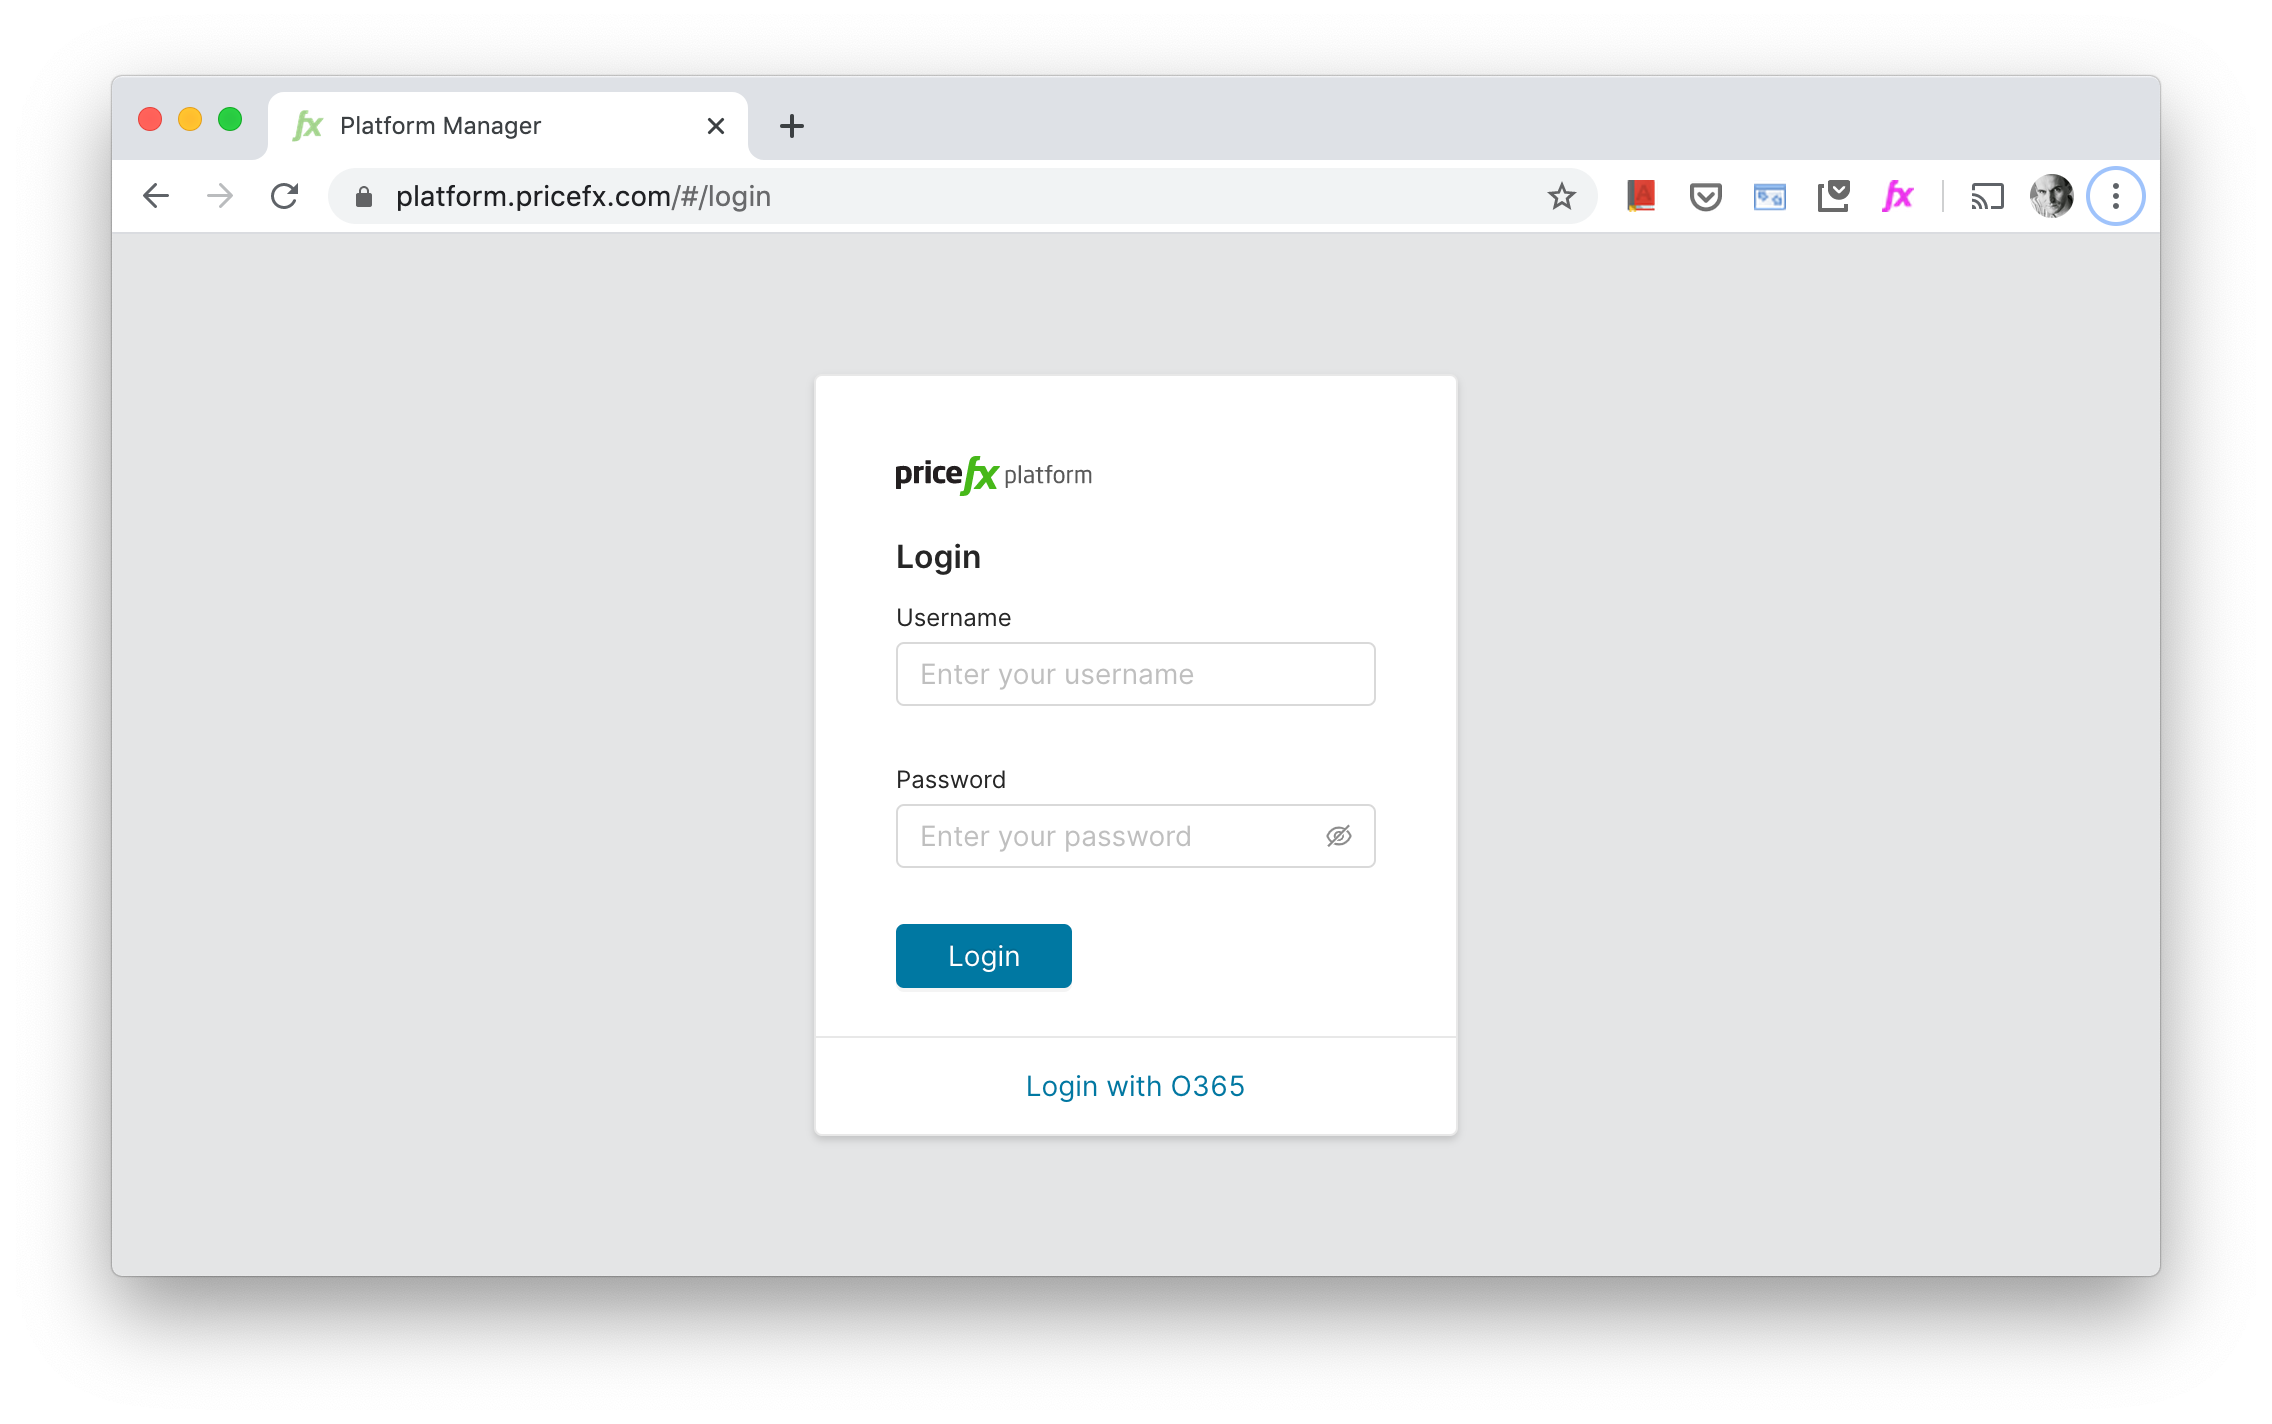
Go to URL: https://platform.pricefx.com/
-
If you are a Pricefx employee, click on Login with O365.
Verify Partition and SFTP Connections
We are going to use the IntegrationManager instance to load data into a specific partition. So, before we begin this process we need to verify our connection for this instance.
-
First, select your IntegrationManager instance from list:
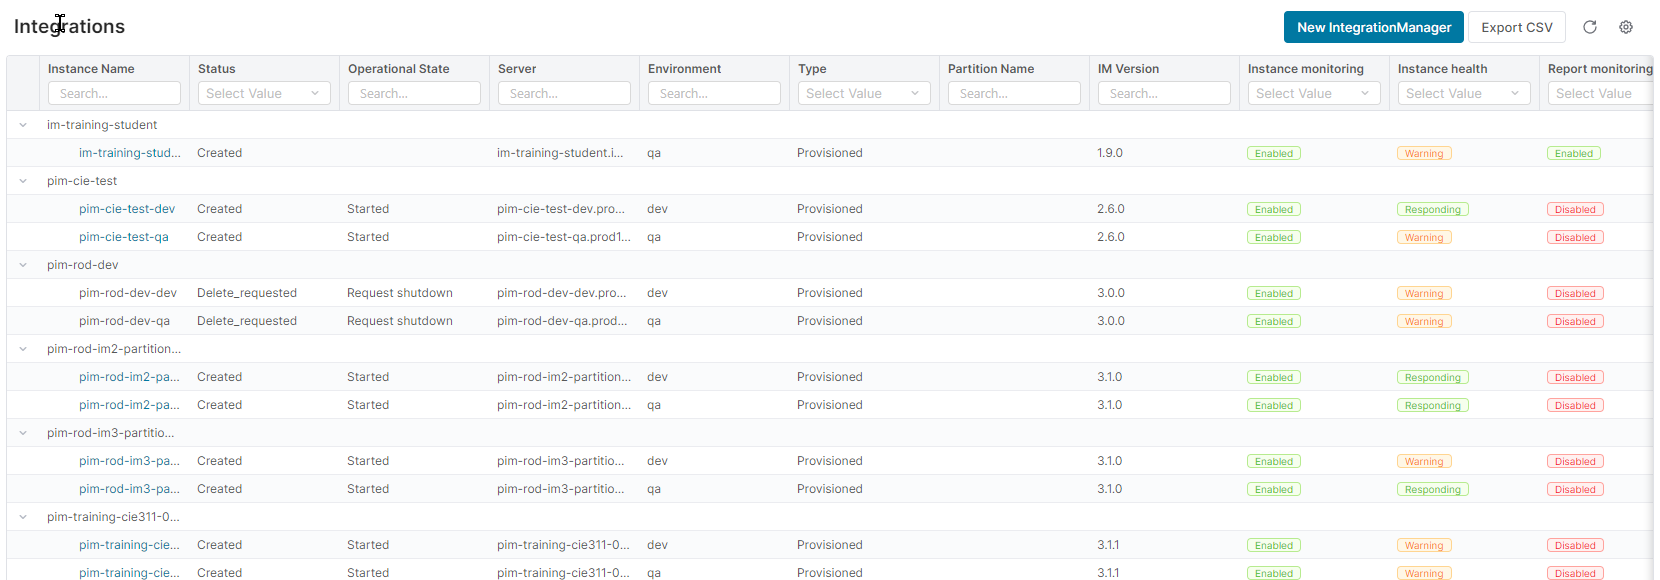
2. Then, open your Connections for this integration instance to verify that both the partition and SFTP connections have been created and deployed. Click on the Workspace tab:

For use of the integration templates, we will need a partition connection for partition access and an SFTP connection to pull data files from SFTP server.
Access Integration Templates
Prior to working with Pricefx Integration Templates, you should already have created (or have access to) an IntegrationManager instance. You will be referencing it in these steps.
-
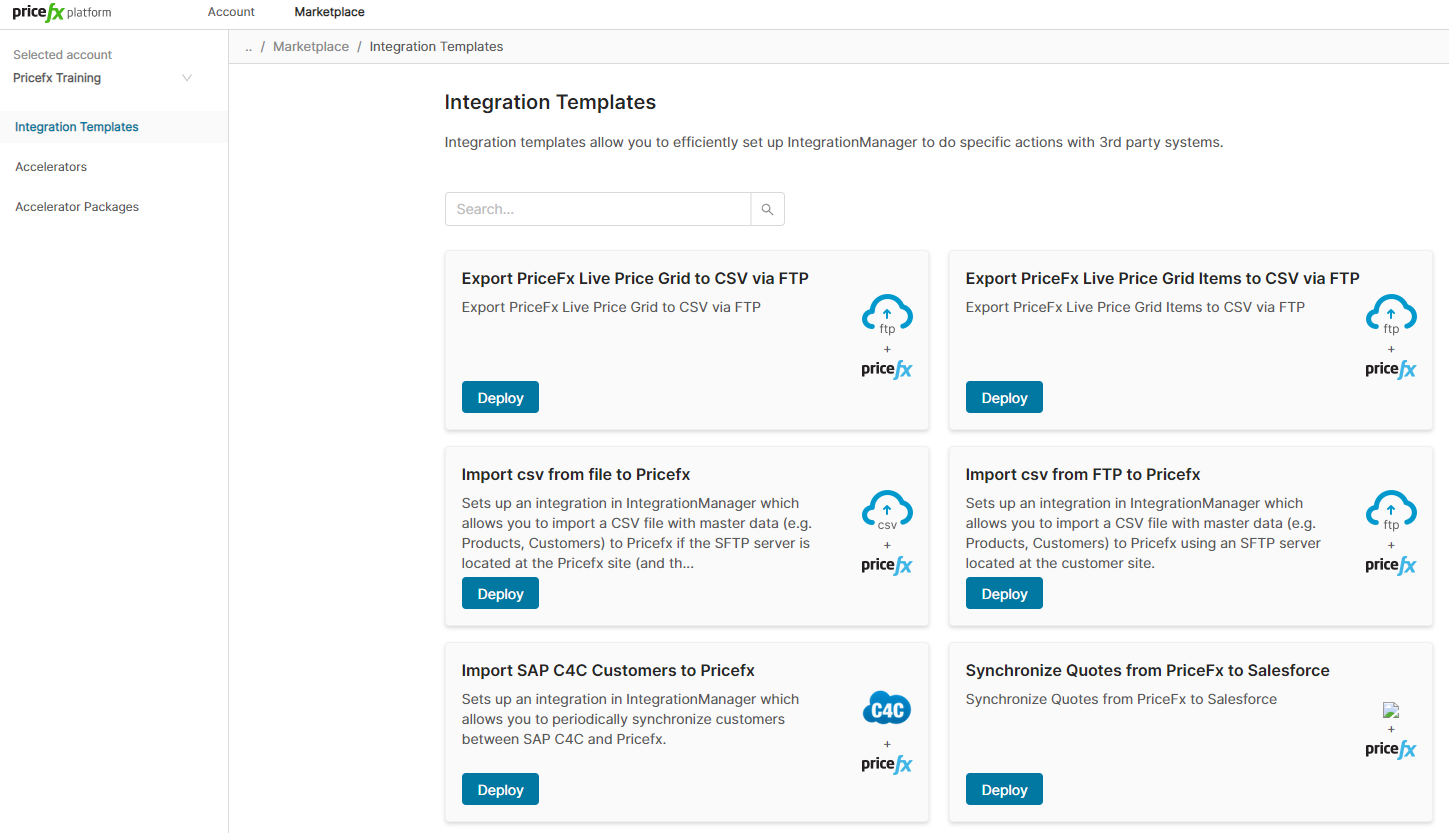
Navigate to Marketplace and select Integration Templates
-
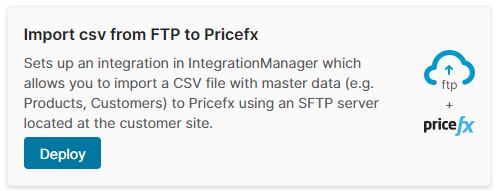
Select the Import CSV from FTP to Pricefx option:
-
Click on the Deploy button.
-
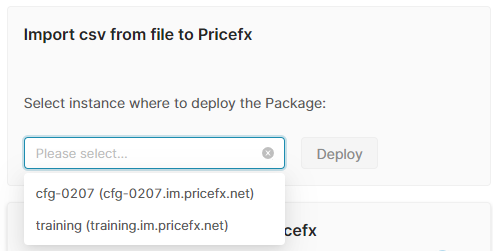
From the drop-down list select your IntegrationManager instance. Click on the Deploy button.
-
The import wizard will now begin:
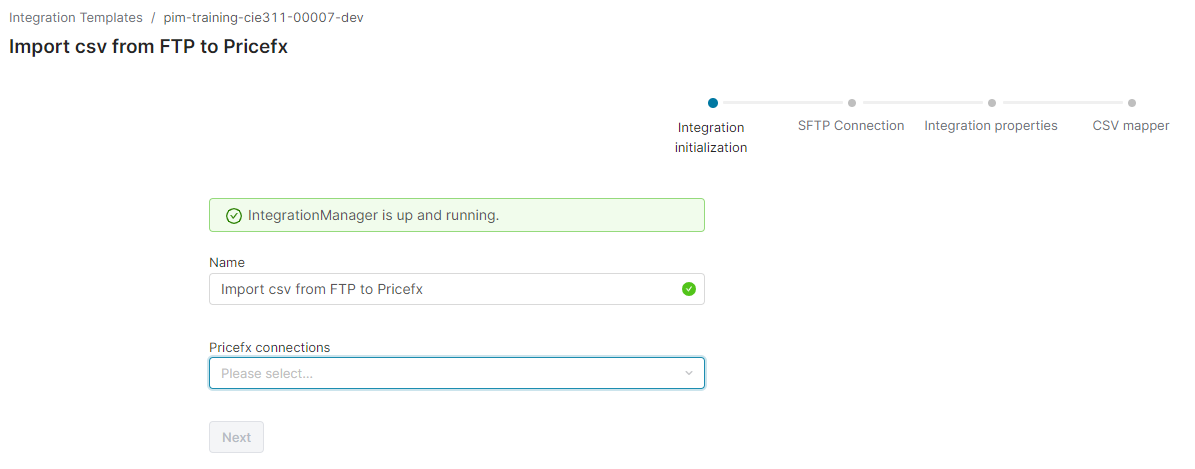
NOTE: When using Integration Templates option, it will display all IM connections that are of a specific type and that type is called “pricefx”. It will present these in a drop-down list and if it doesn’t exist then this step will fail.
6. Click on the drop-down list for Pricefx connections:
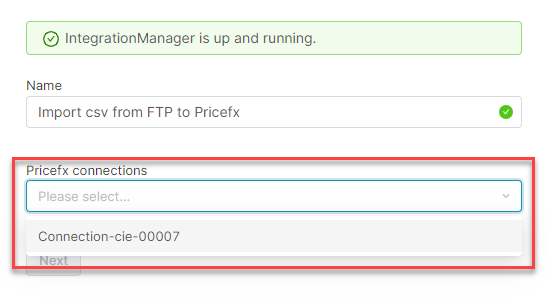
NOTE: The name of our route will simply default to the integration template name, it is good practice to change this to a name of value and meaning. Only by selecting a partition connection can the deployment process continue.
7. Update the Name to CSV Import-Product, then click Next button.
8. Choose the SFTP Connection from the list:
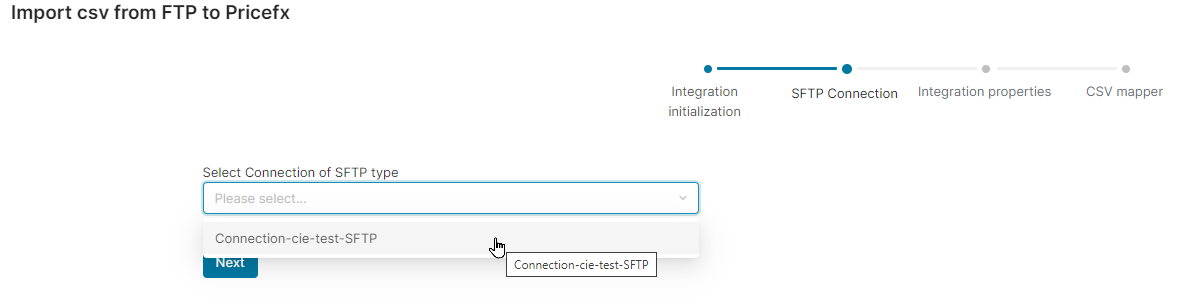
Click Next button.
8. The Integration Properties panel will appear:
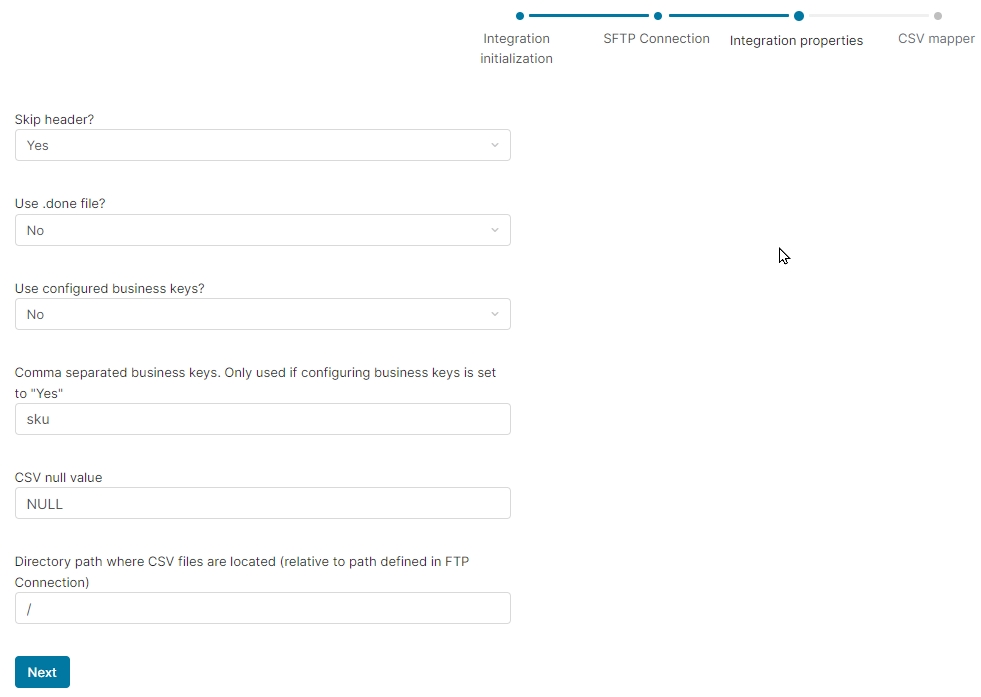
NOTE: The directory path for the CSV file will be appended to the path defined for our SFTP connection. Thus, here we add the products folder that we created. For the purposes of our tutorial, we don’t need to make any updates or changes to these properties and can accept the default settings.
9. Update the directory path to point to our products folder on the SFTP server:
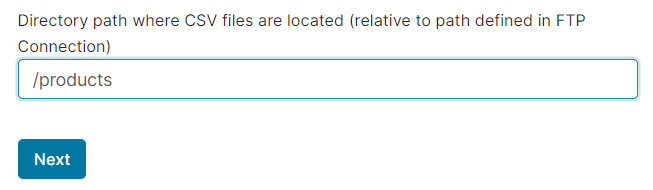
Click Next button.
10. Next, the Data Upload and Mapping panel will appear. On this panel we need to drag and drop our CSV file for the upload:
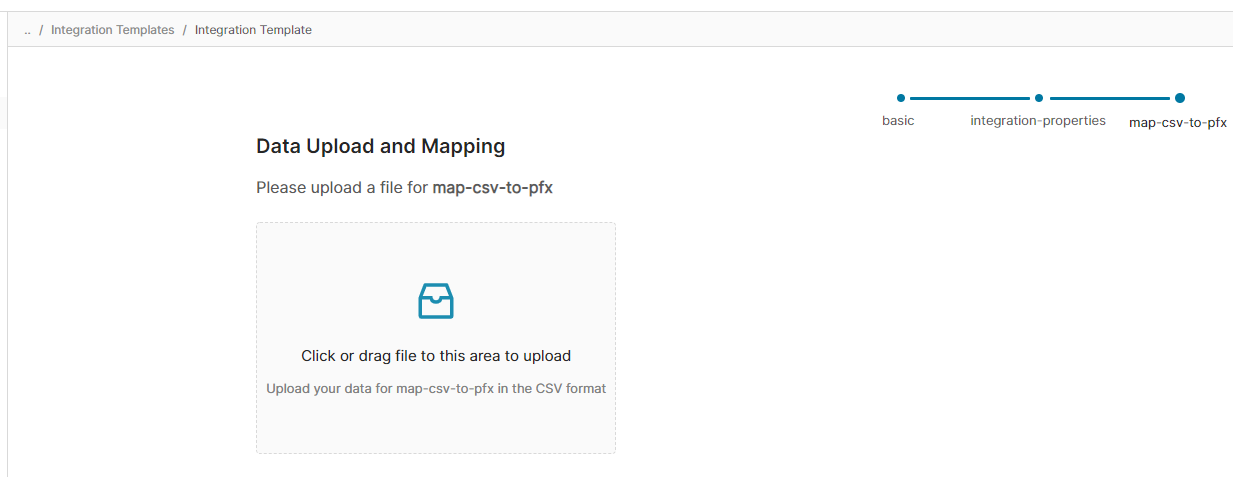
11. Drag and drop ProductMaster.csv ( or whatever the filename is of the .csv file that you exported ) onto the page.
12. The default parsing will appear for the first three rows - Note: the column headers and data may be different for you. The displayed values depends upon the content of the .csv file you are using.
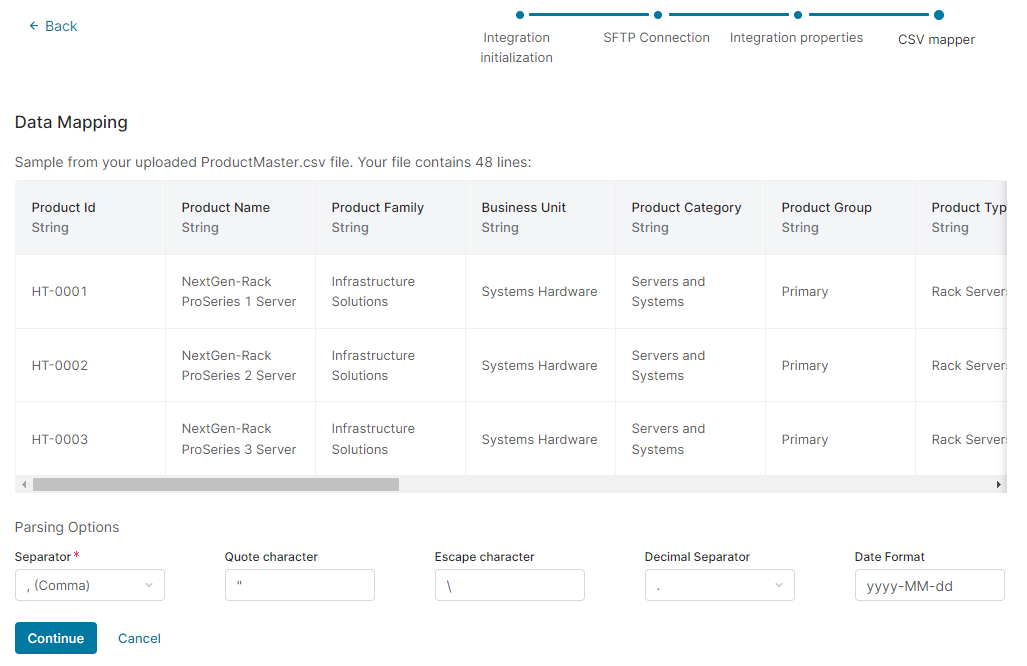
13. Verify that the CSV file is being parsed correctly. Then, click Continue button.
14. Next, we need to select the Entity Type of Product:
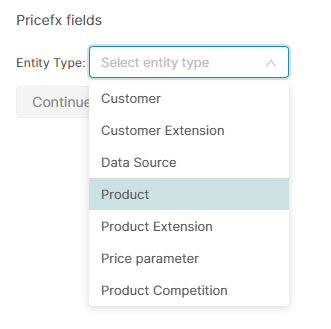
15. Now we need to perform the data mapping to link our CSV columns to Product Master in our partition - Note: again, remember that the field names displayed will depend upon the content of your specific .csv file.
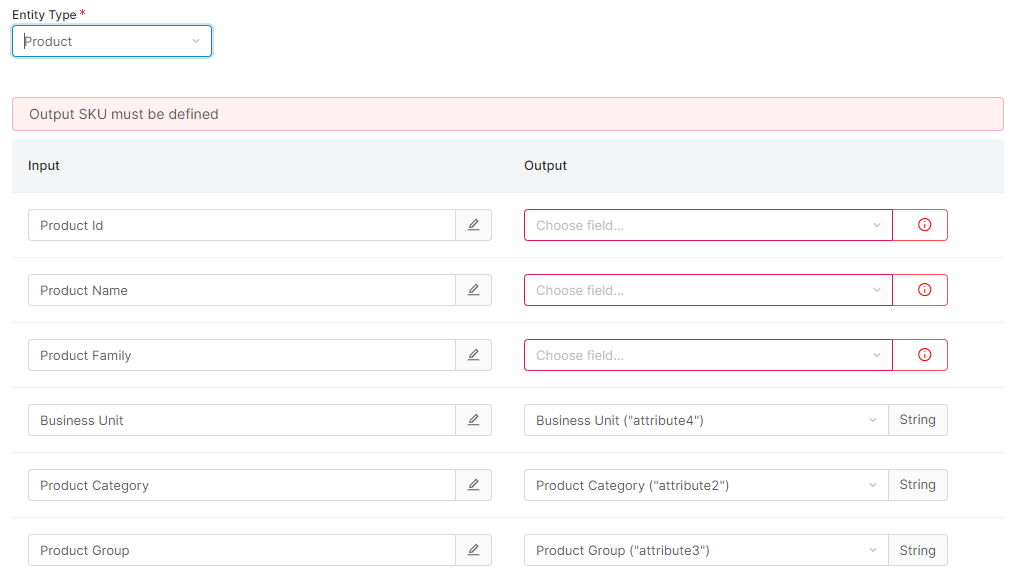
The mapping process within the integration template will attempt to map the CSV columns to master table metadata attribute values. If it can’t find a match, then it will leave the Output column blank.
NOTE: The Product Id and Product Name are considered mandatory fields. If the partition is empty and contains definition of Product Master as “out-of-the-box”, then no automatic mapping is created.
16. First, we will map the Pricefx mandatory fields:

17. Next, we will assign the remaining CSV columns to attribute(s) column(s) in our Product Master. Note that we will not map the User Group, Pricing Logic and Last Update fields. You may delete these fields using the trashcan icon.
18. Click Continue button.
The data mapping and loading of the Product master will now be accomplished:
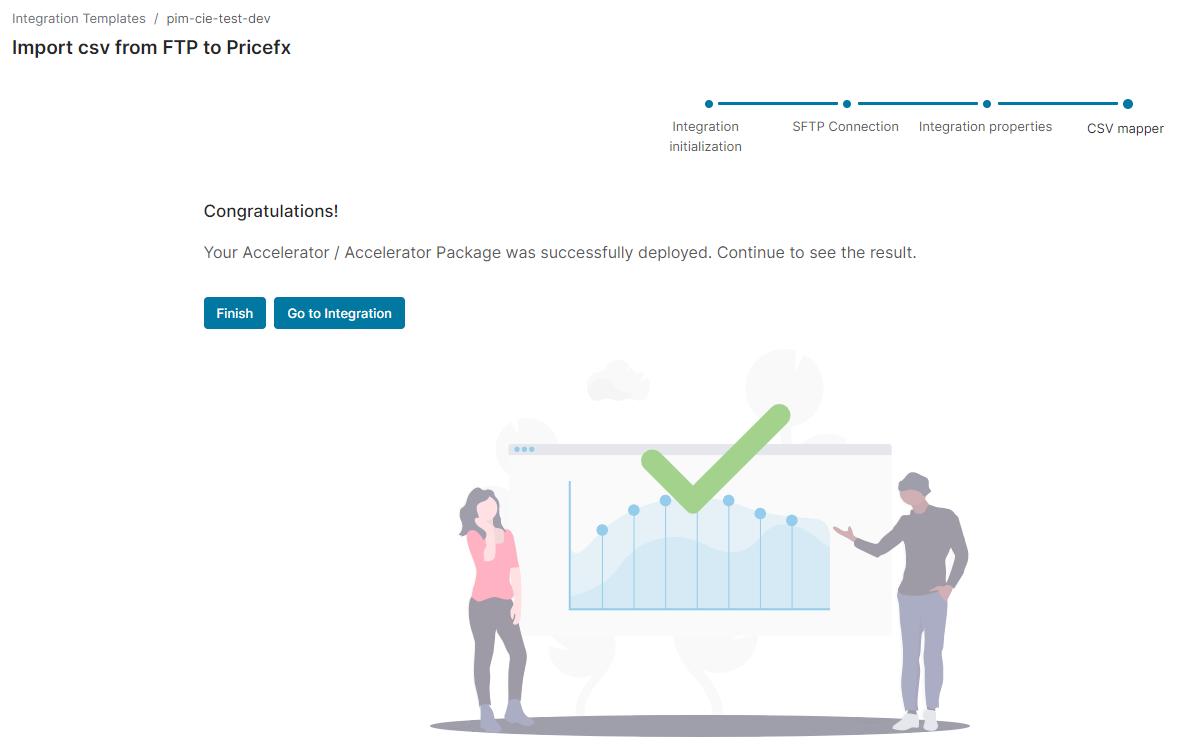
19. Click Finish button.
NOTE: These steps have defined the file mapping and the location of where the CSV file will be loaded. As soon as the CSV file appears, then the it will be mapped and loaded into the partition.